
Shoe Polish Kit

I was having a bit of a spring clean and came across all my bit and pieces for shoe care. I decided they needed to be stored together in a shoe shine kit. I thought I would make one out of an old pallet I had in the garage.
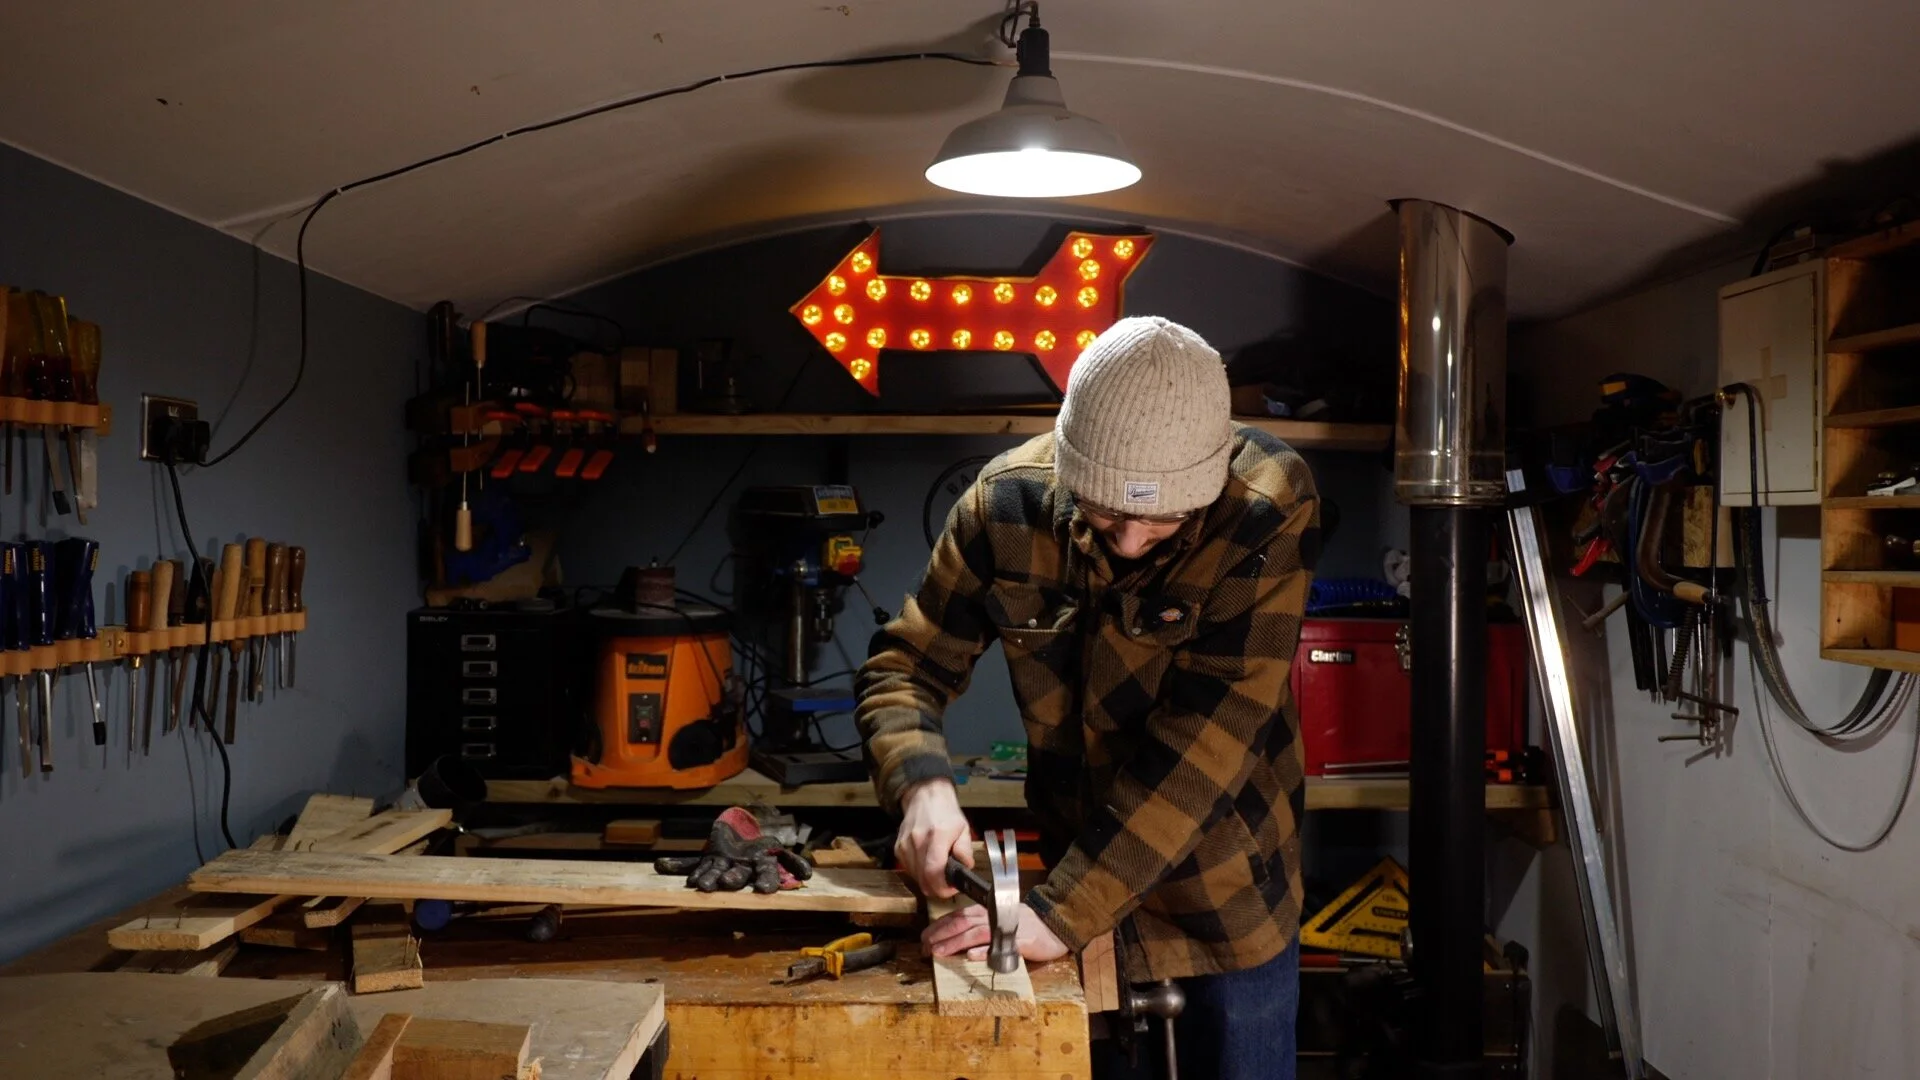
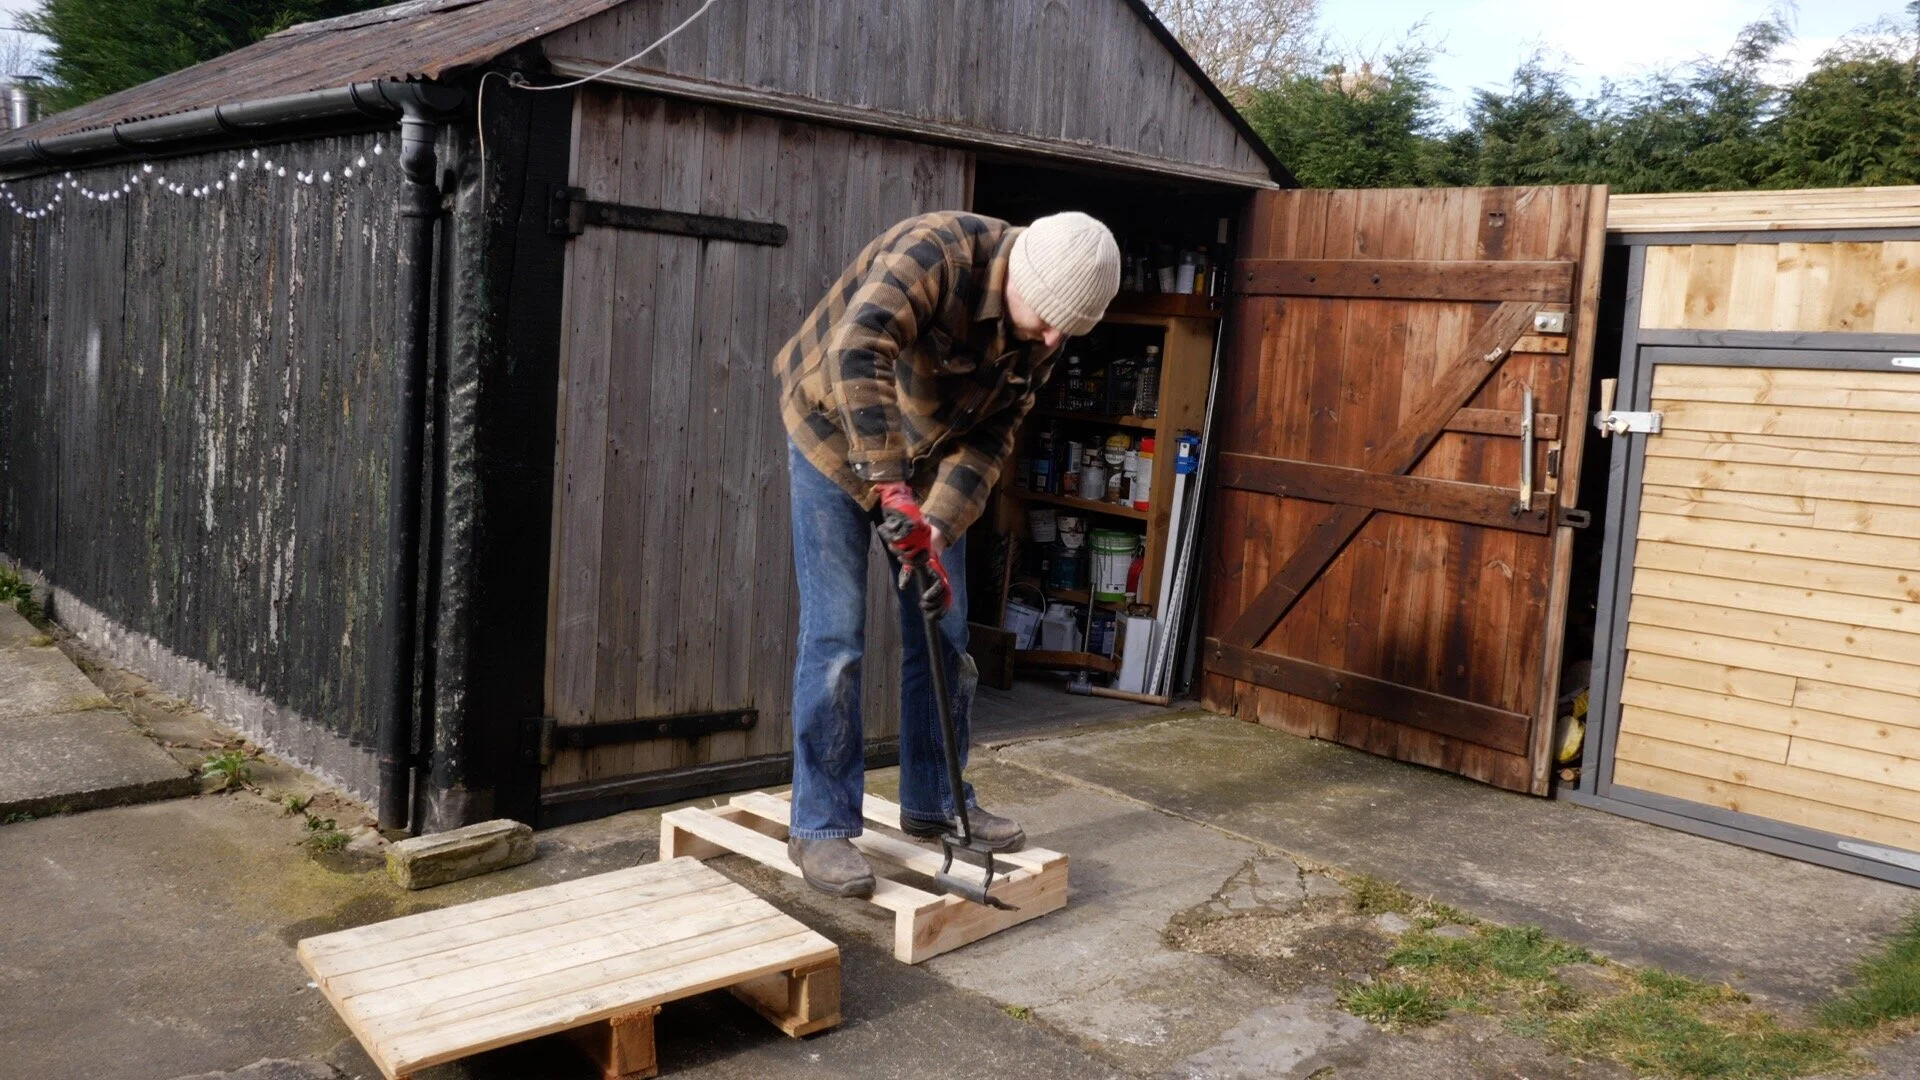
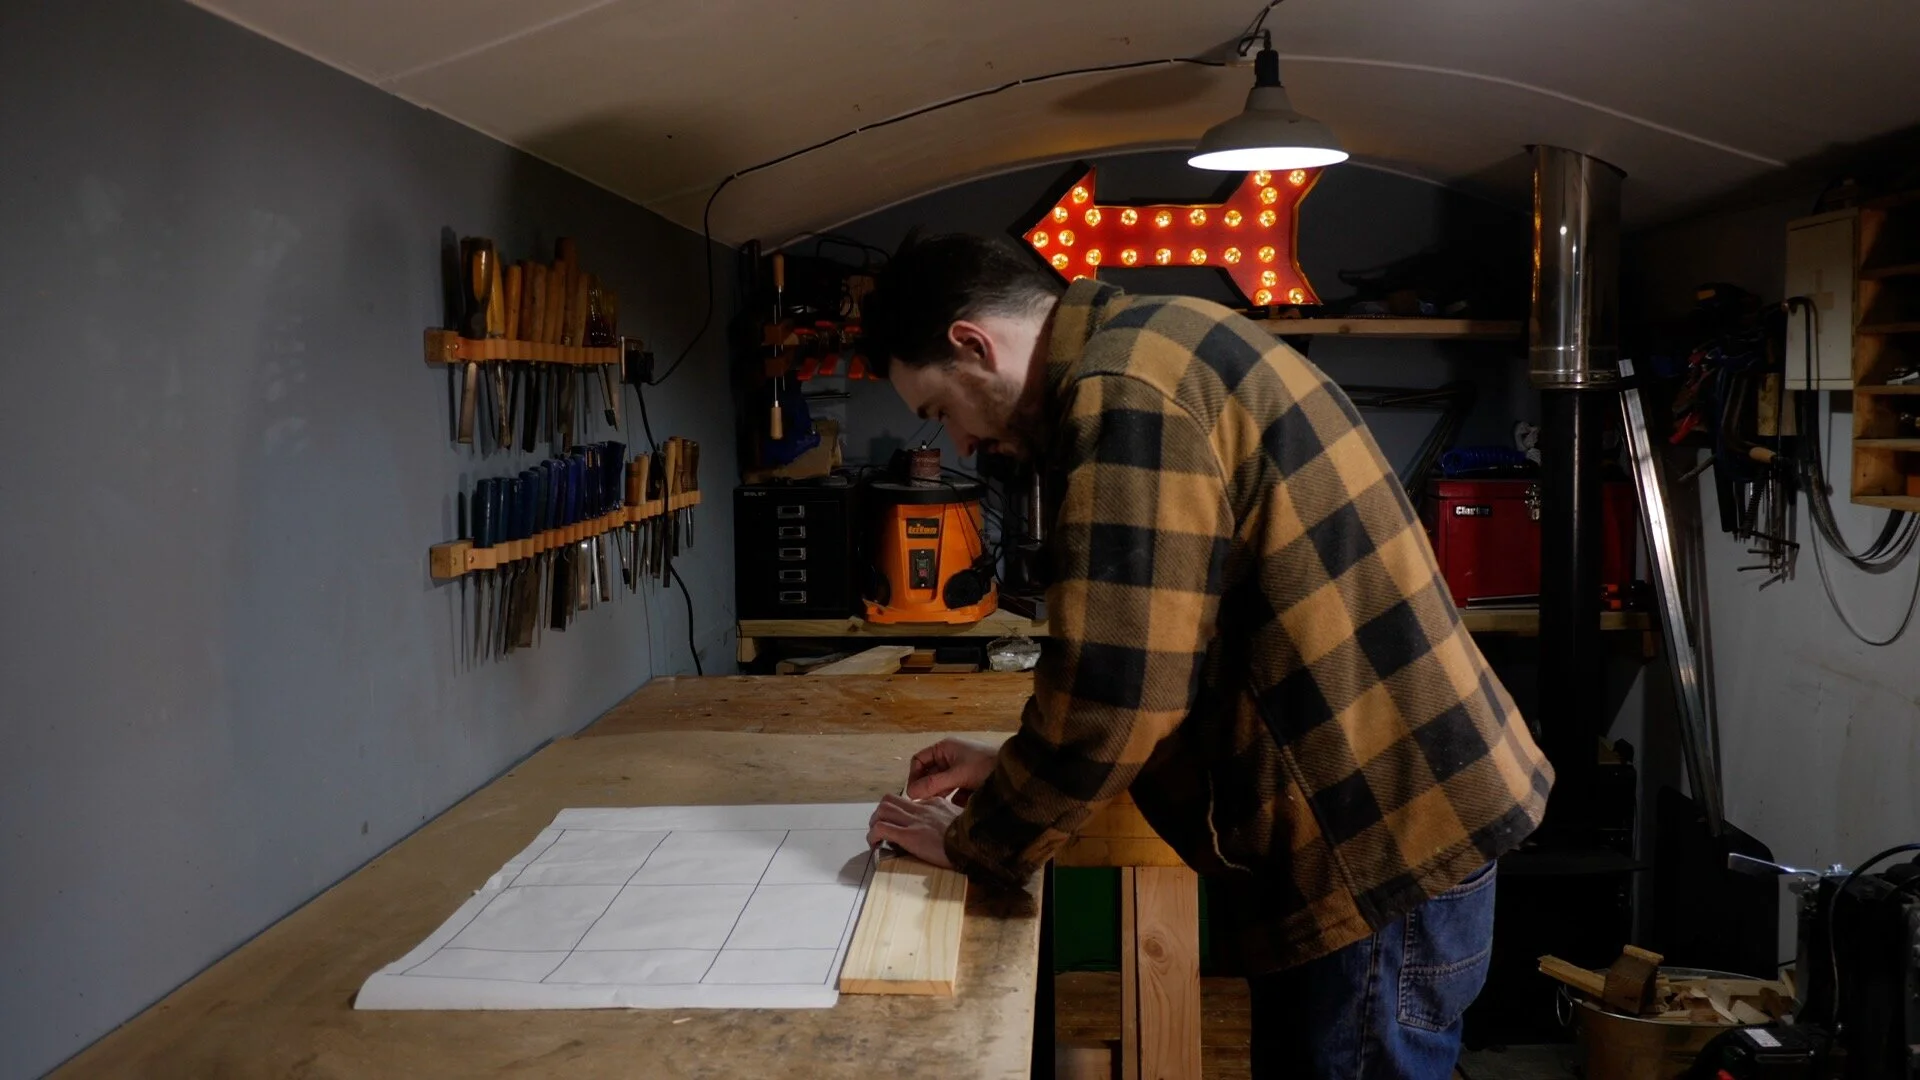
To start I laid out all the bits I wanted to store and drew out a rough plan. With the sketch done I could brake up the pallet. I like to use this braking bar. If you want to look at it then it can be found on my amazon tool page.

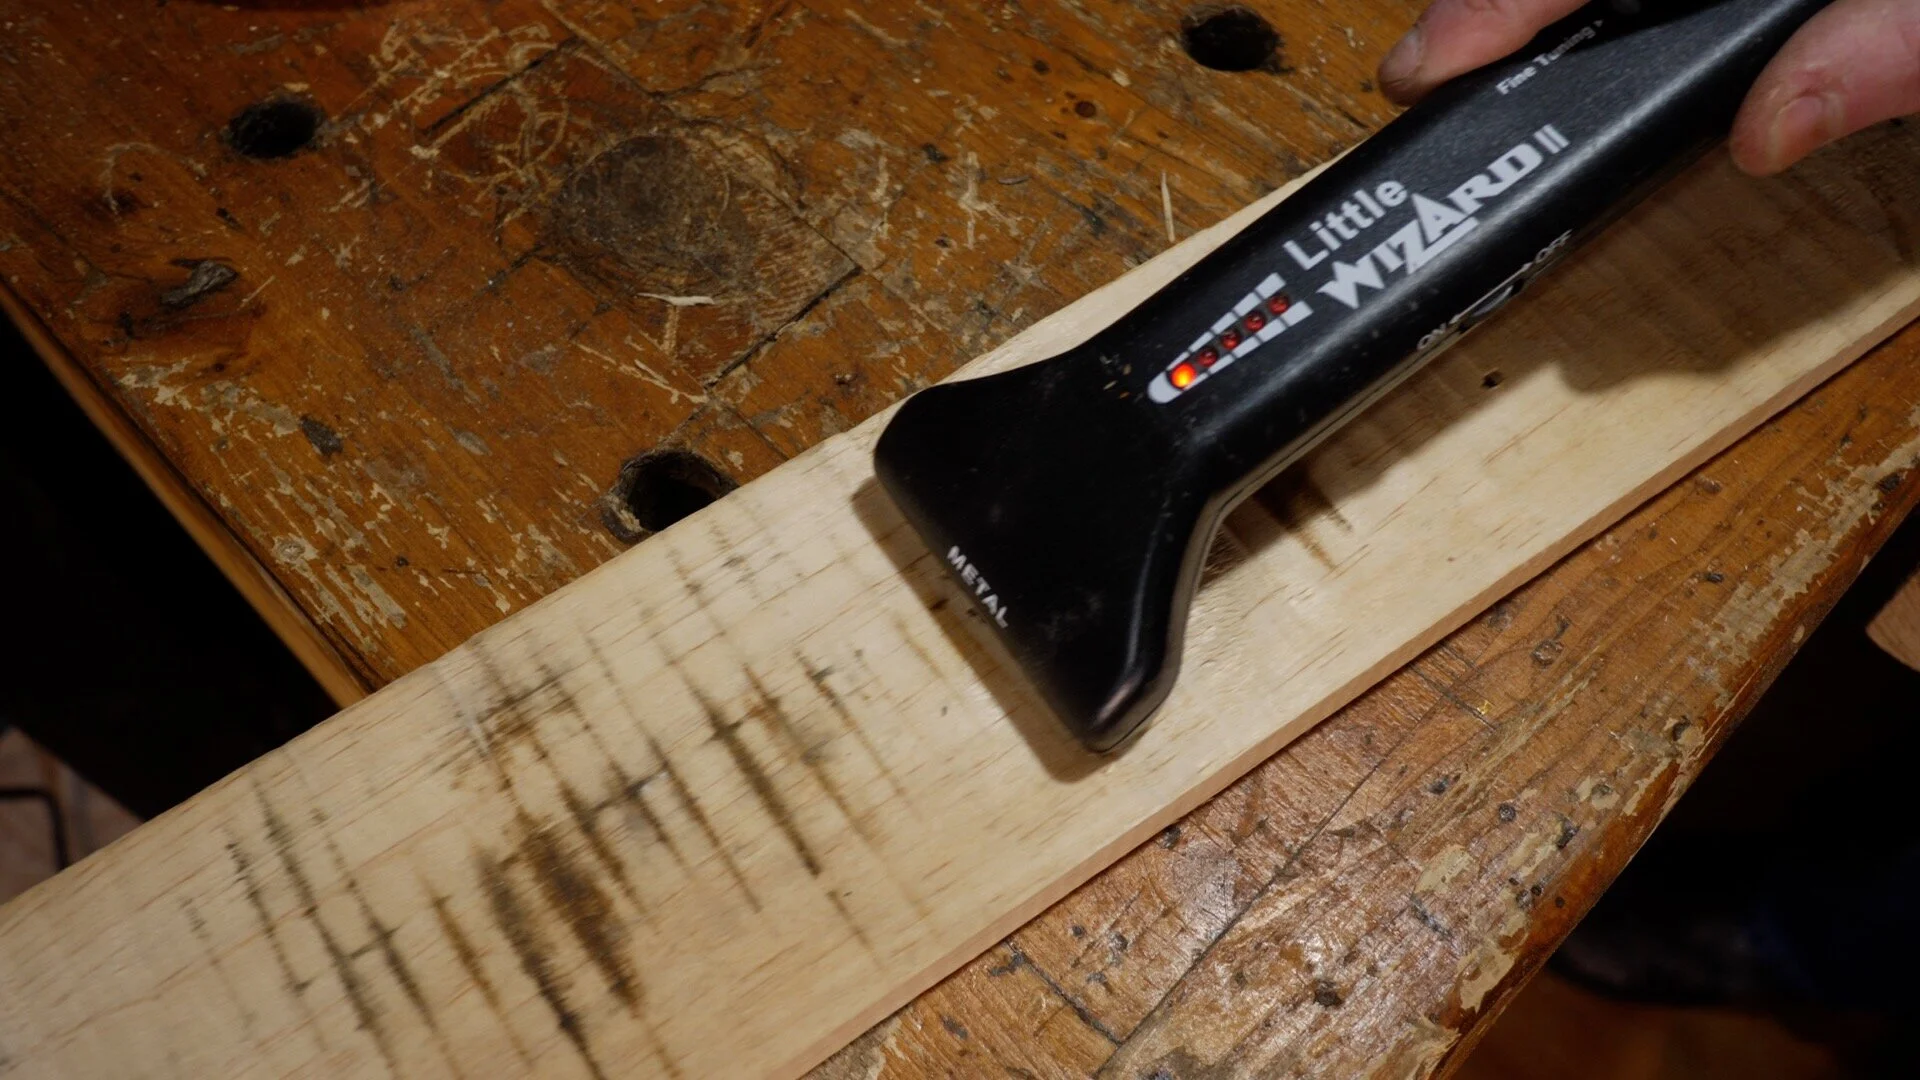
With the slats removed from the pallet, I could take them into the workshop and remove the nails. With all the nails removed that I could see I check over the board with a metal detector and I had missed a few. These I could punch through the wood and pull out.


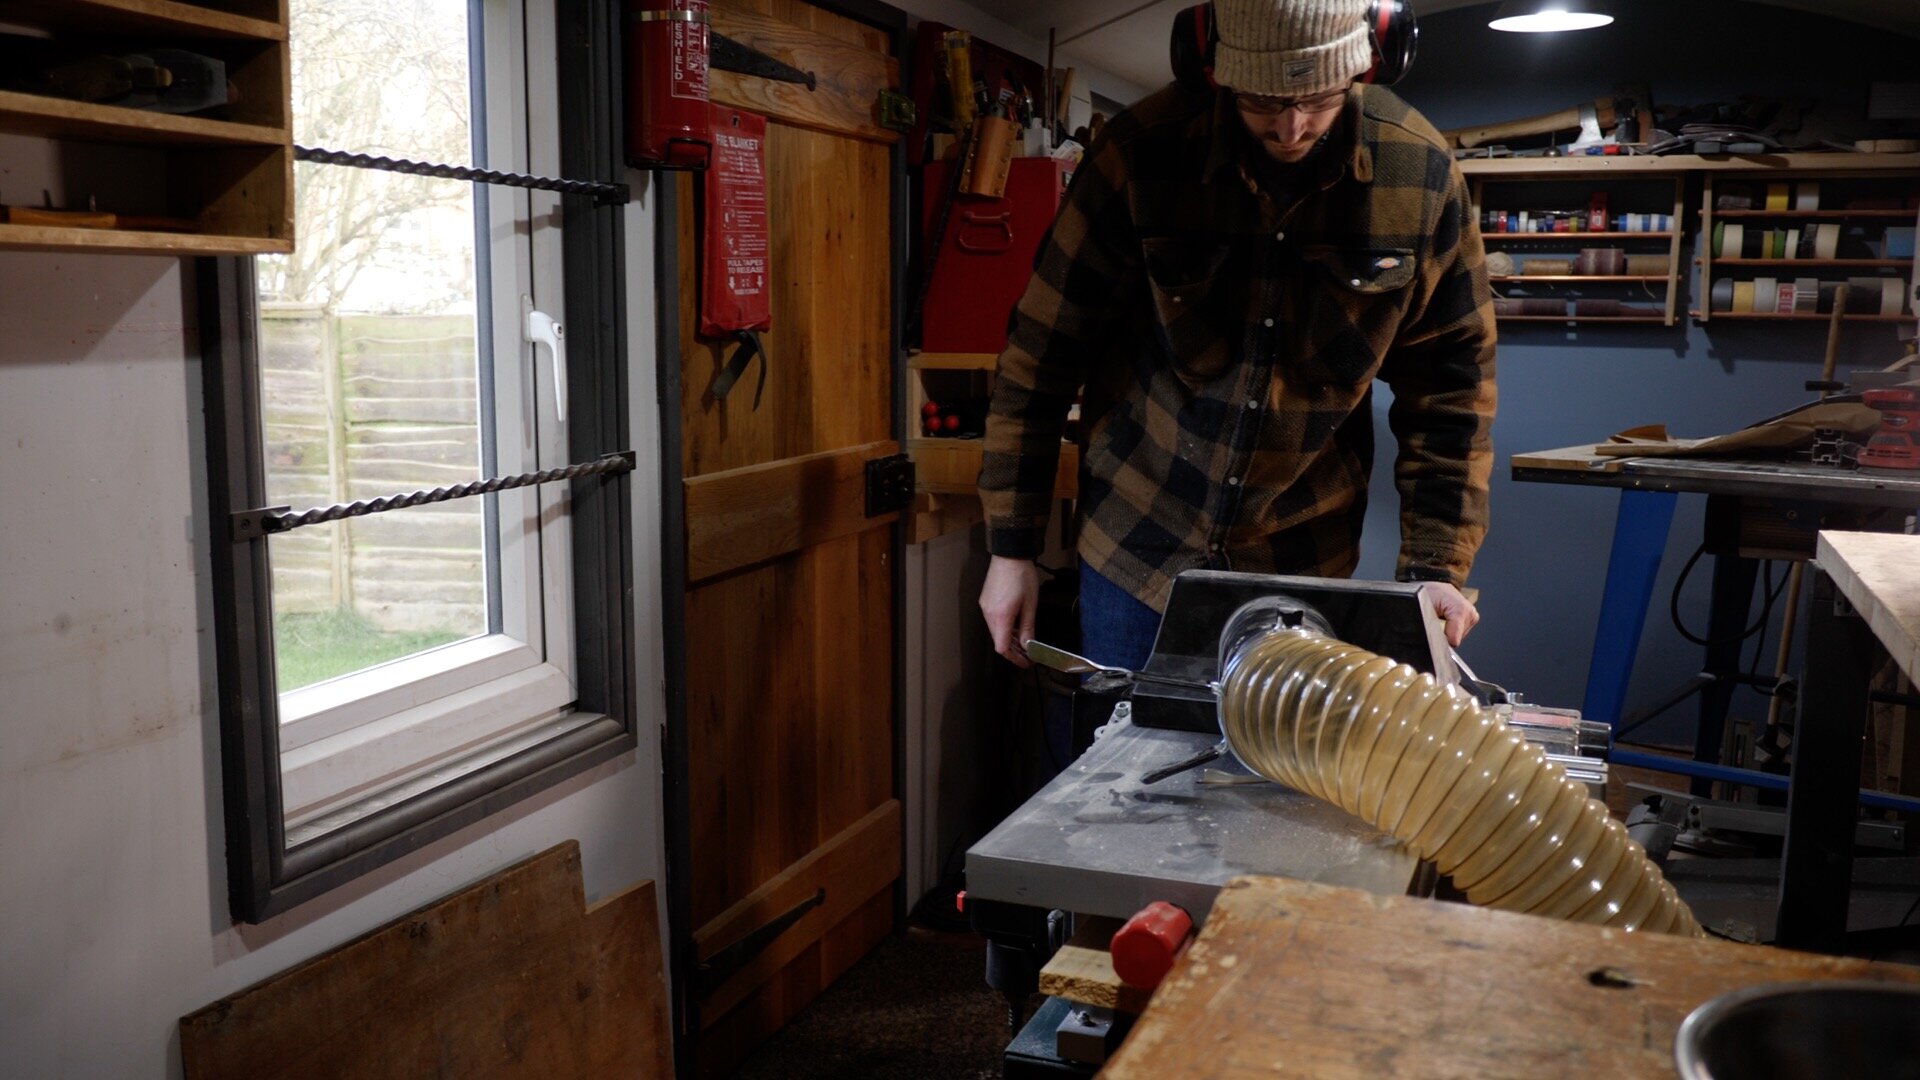
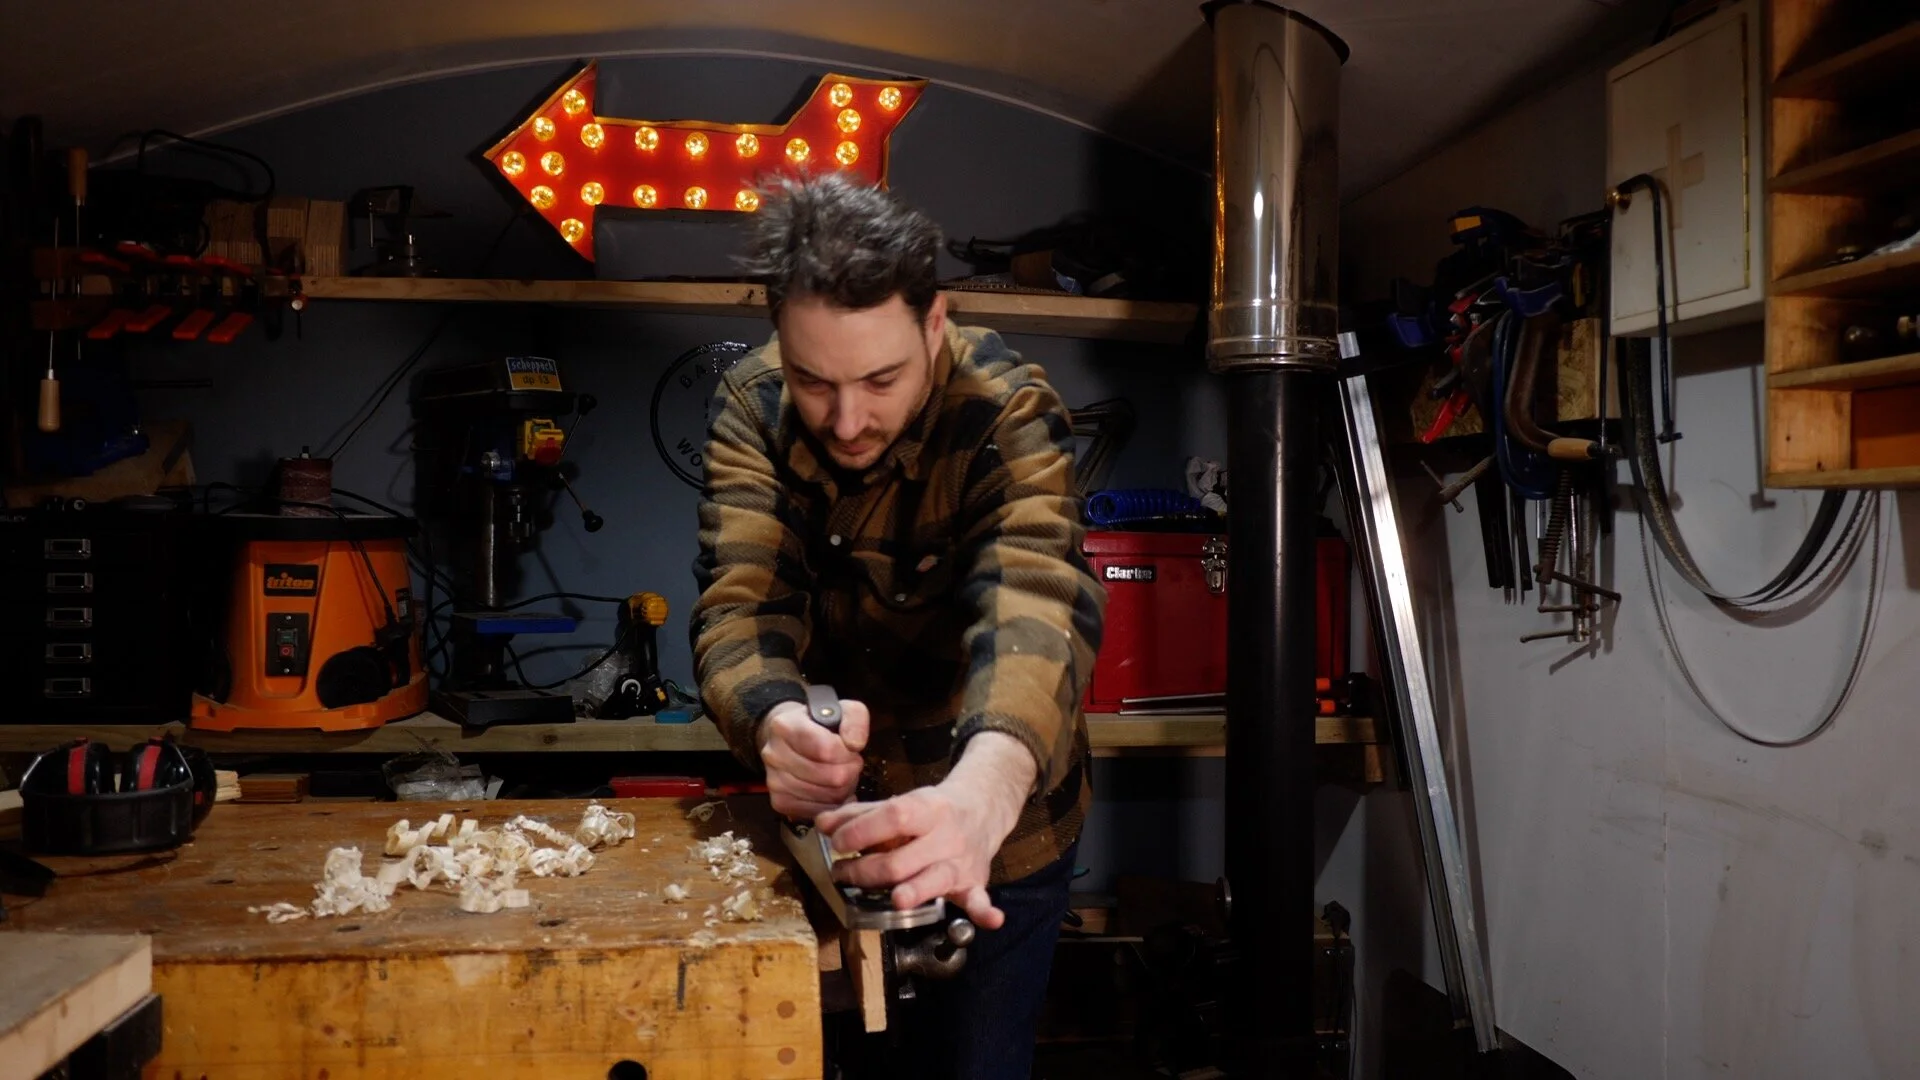
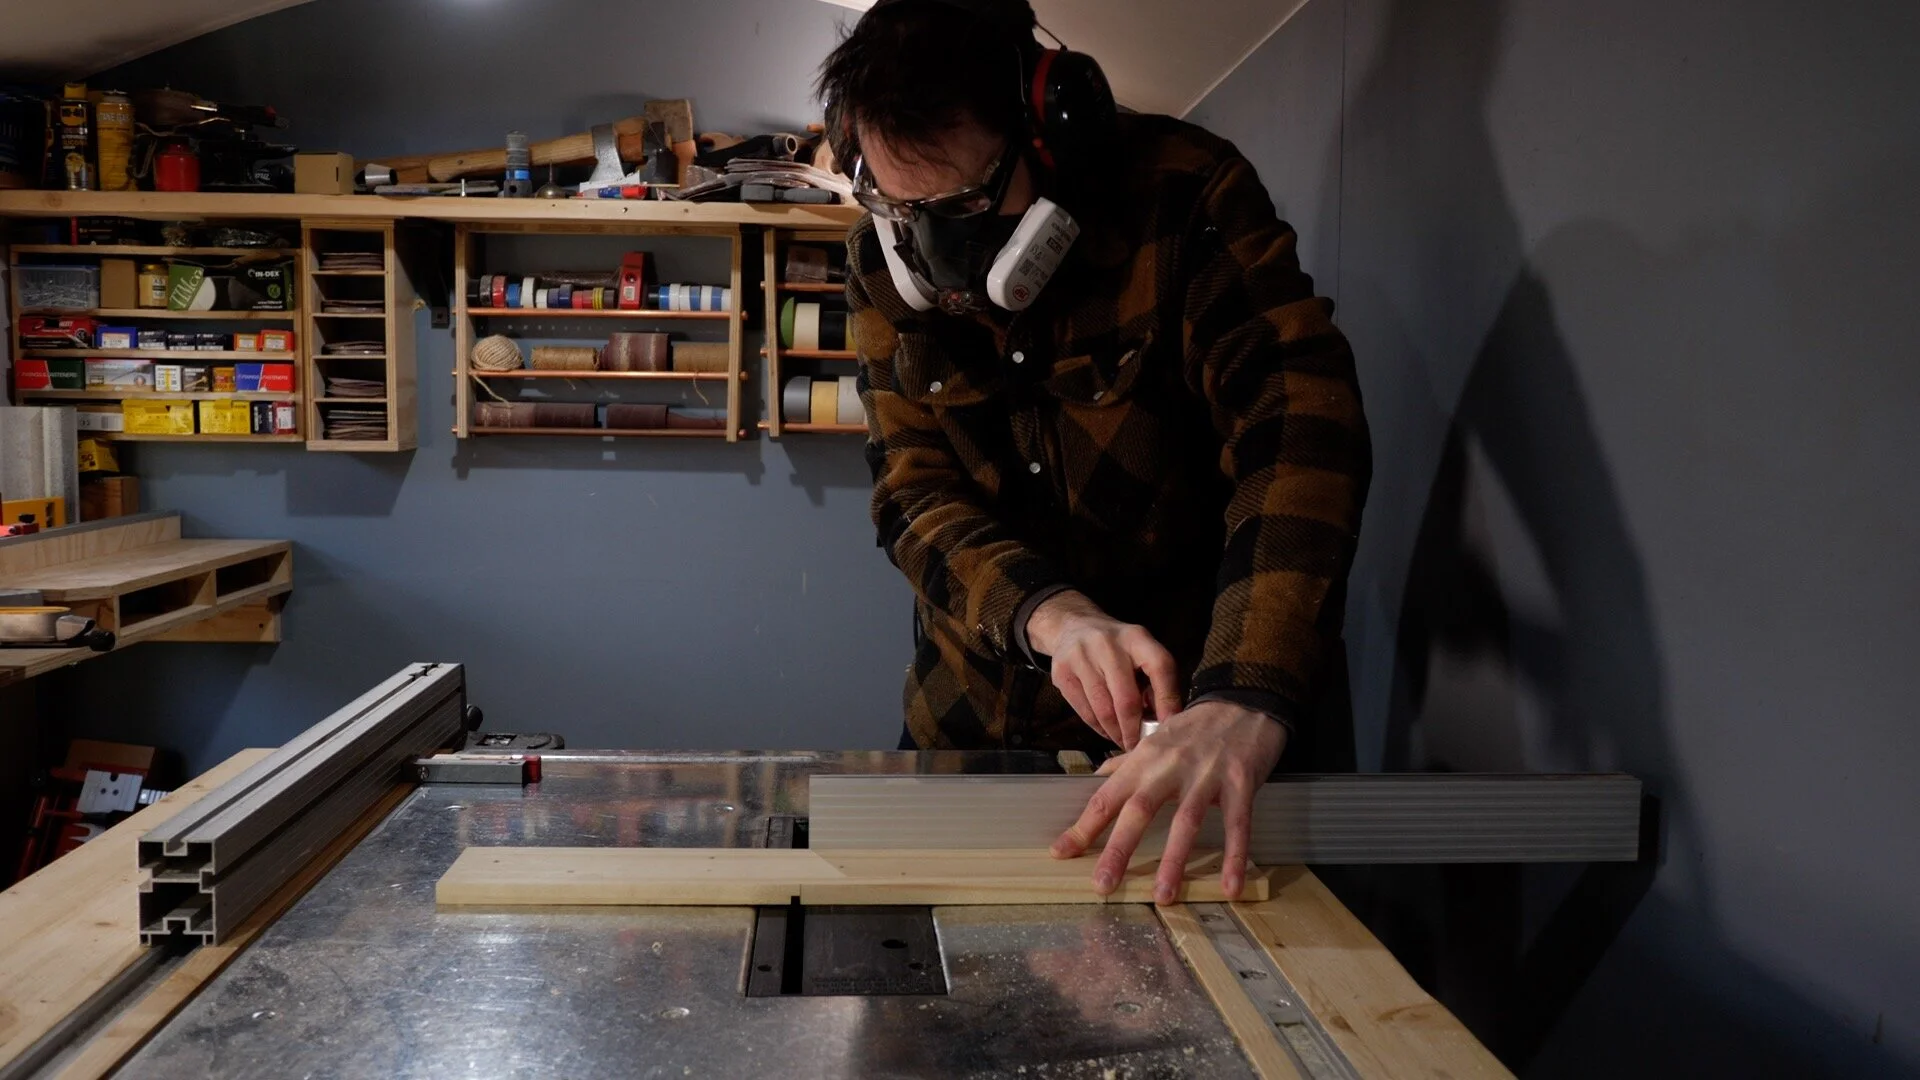
If you like the rustic pallet look then the boards could now just be sanded down. I want to clean the boards up more so I run them through the thicknesses on both sides and they can out looking as good as new. I cleaned up one edge using a hand plane and ran them though the table saw to clean up the final edge.

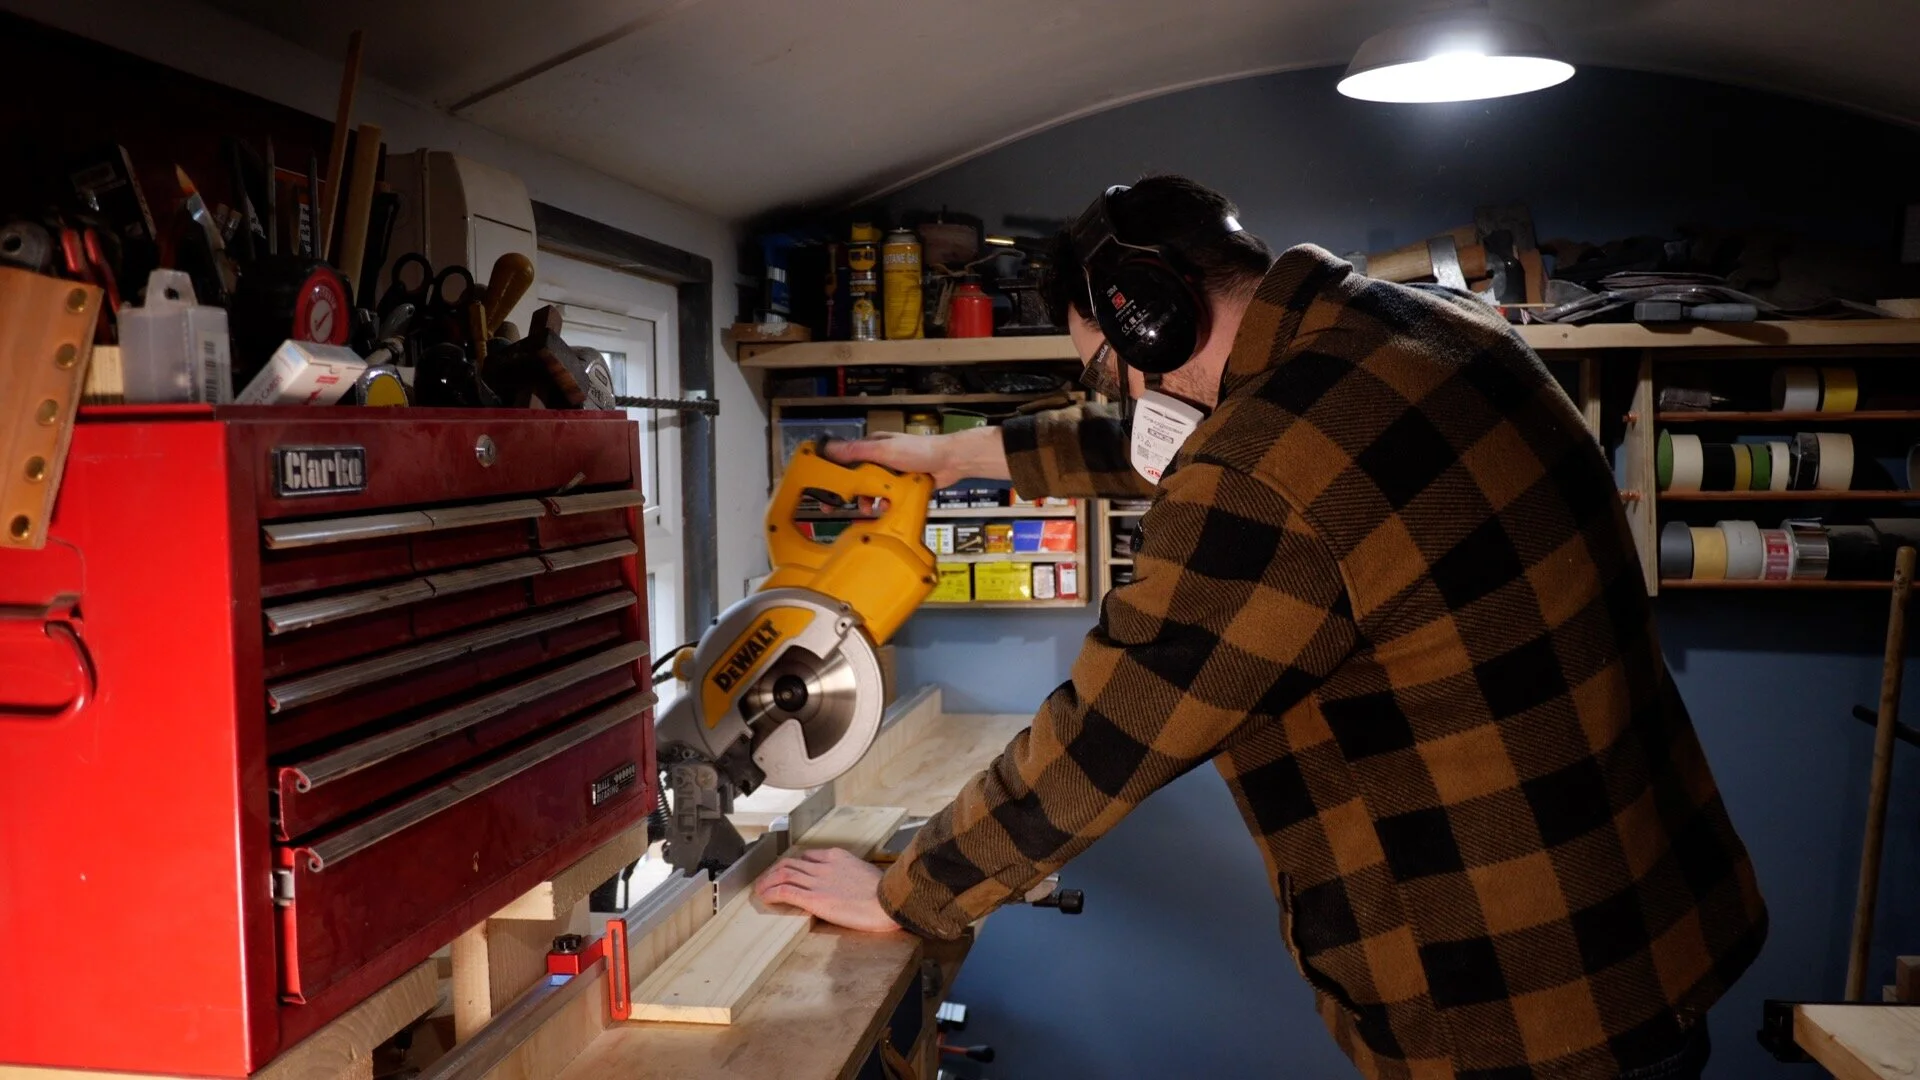
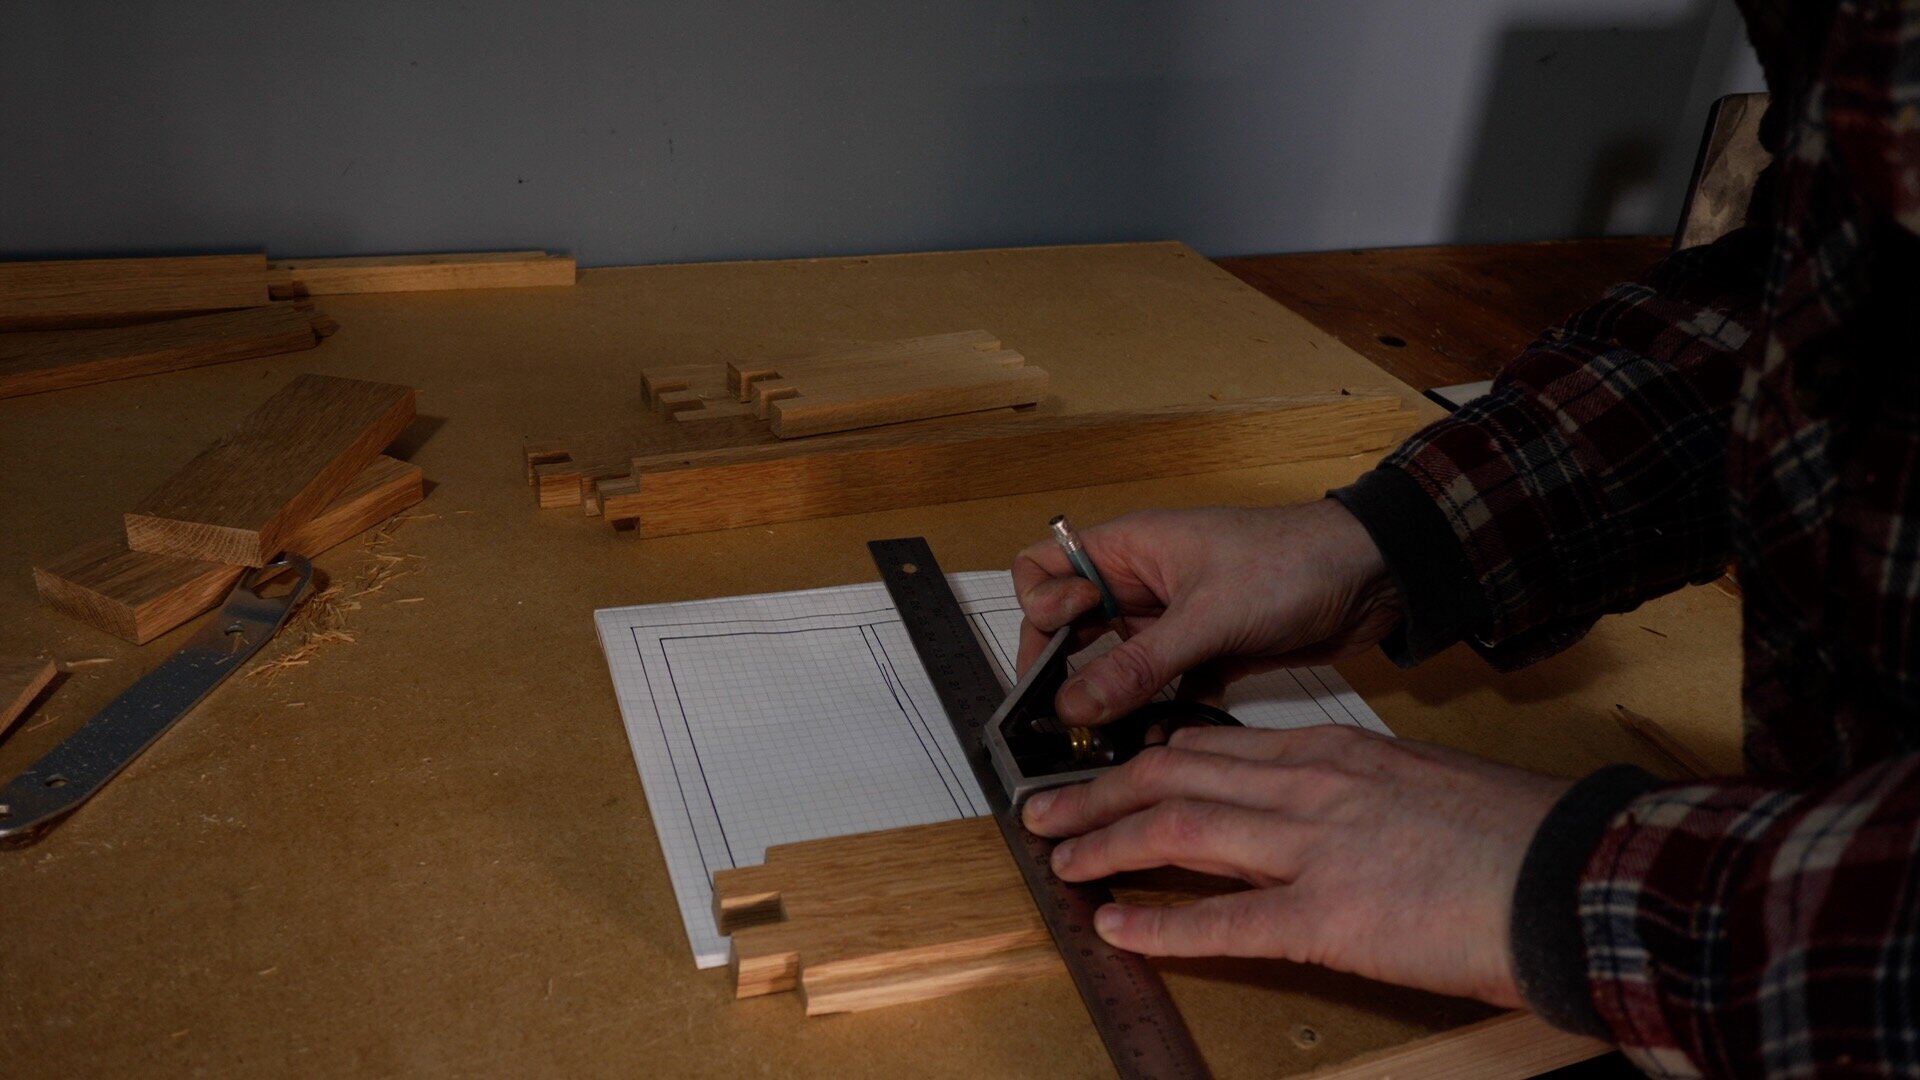
Now the pieces need to be cut to length. I use the plan I drew for reference and marked out the boards. I could then use the mitre saw to cut them to length.
I want two sides of the tray to have a rebate to accept a base later on. I set the hight of the table saw blade to the thickness to the material, then I use the table saw to cut out the rebate.
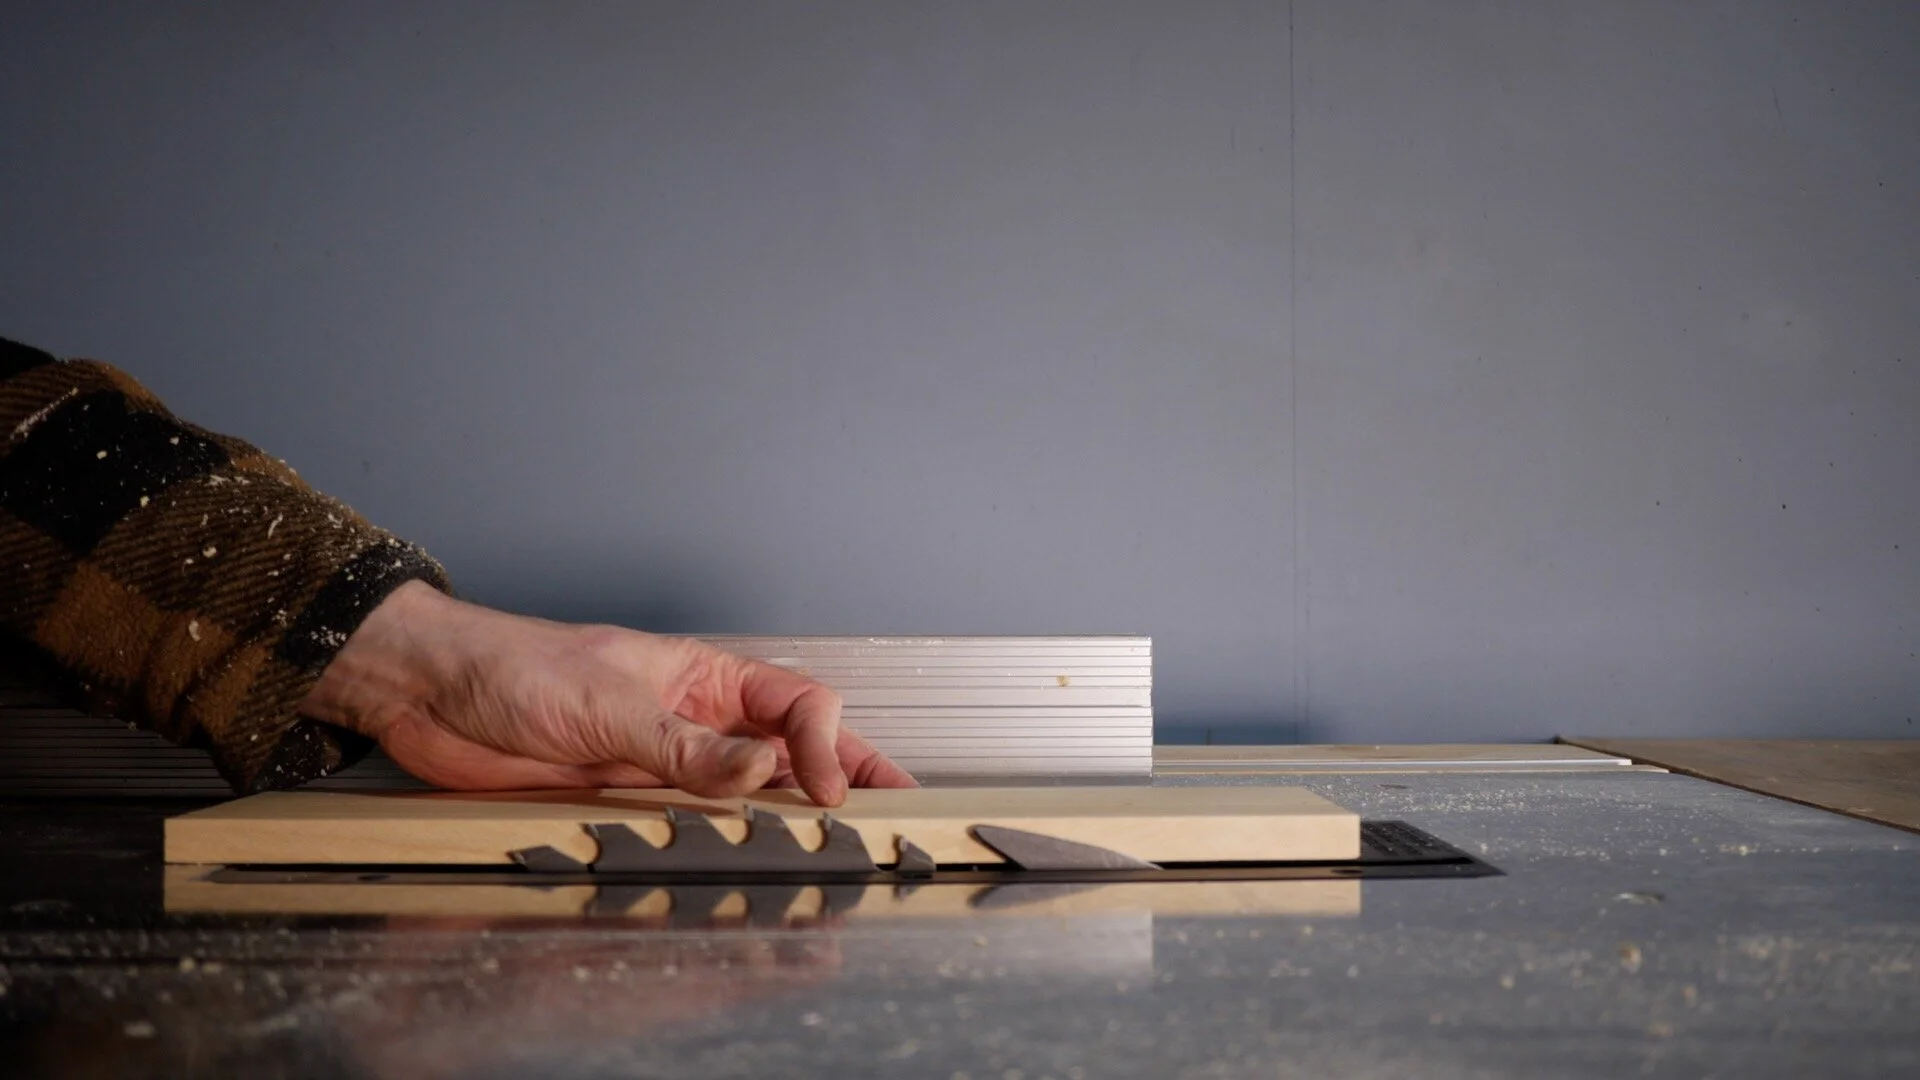


Before I can assemble this I need to cut some slots to accommodate the internal dividers. I use my plans to work out where they need to go then I set up my new jig to cut them. It is a little hard to explain how this jig works but at the bottle of this article is a video of me making this shoe shine kit and that explains it much better.
This jig can be found along with a lot of the other tools I use on my Amazon page.
https://www.amazon.co.uk/shop/badgerworkshop

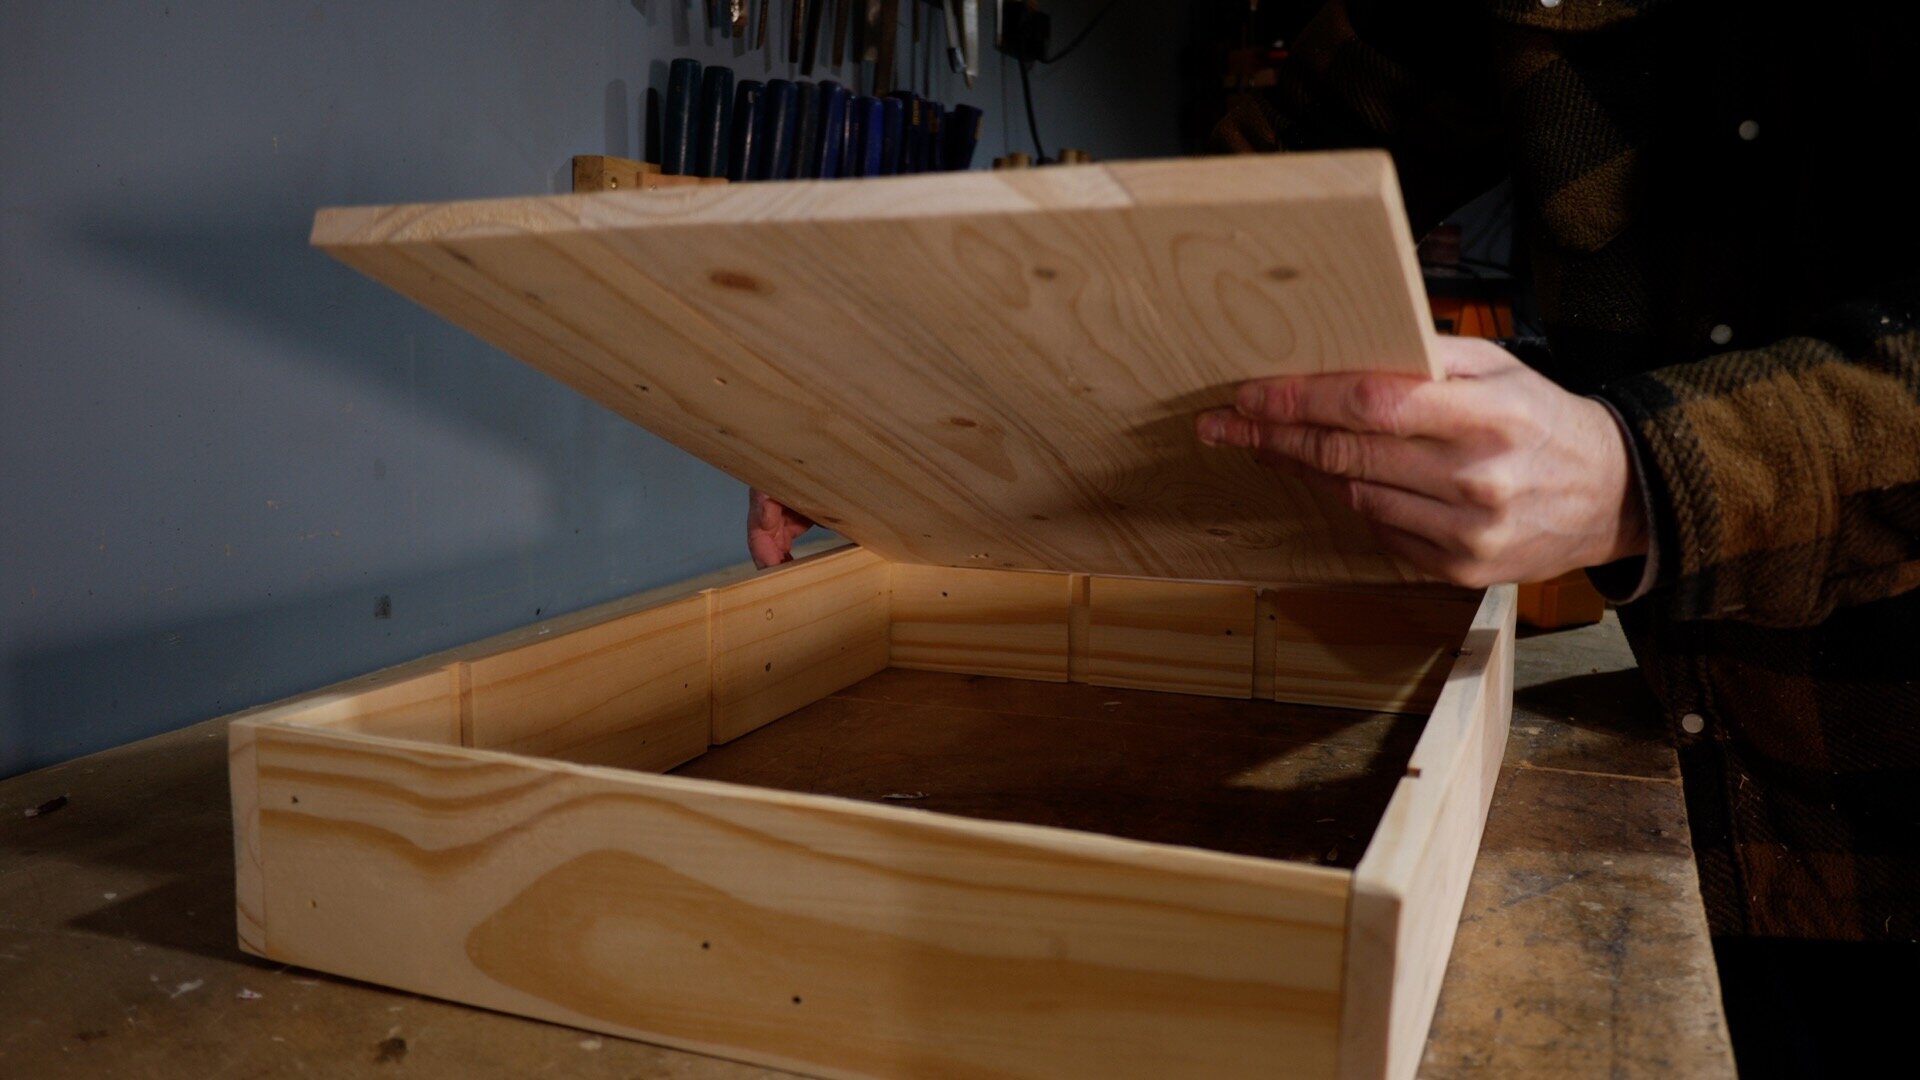
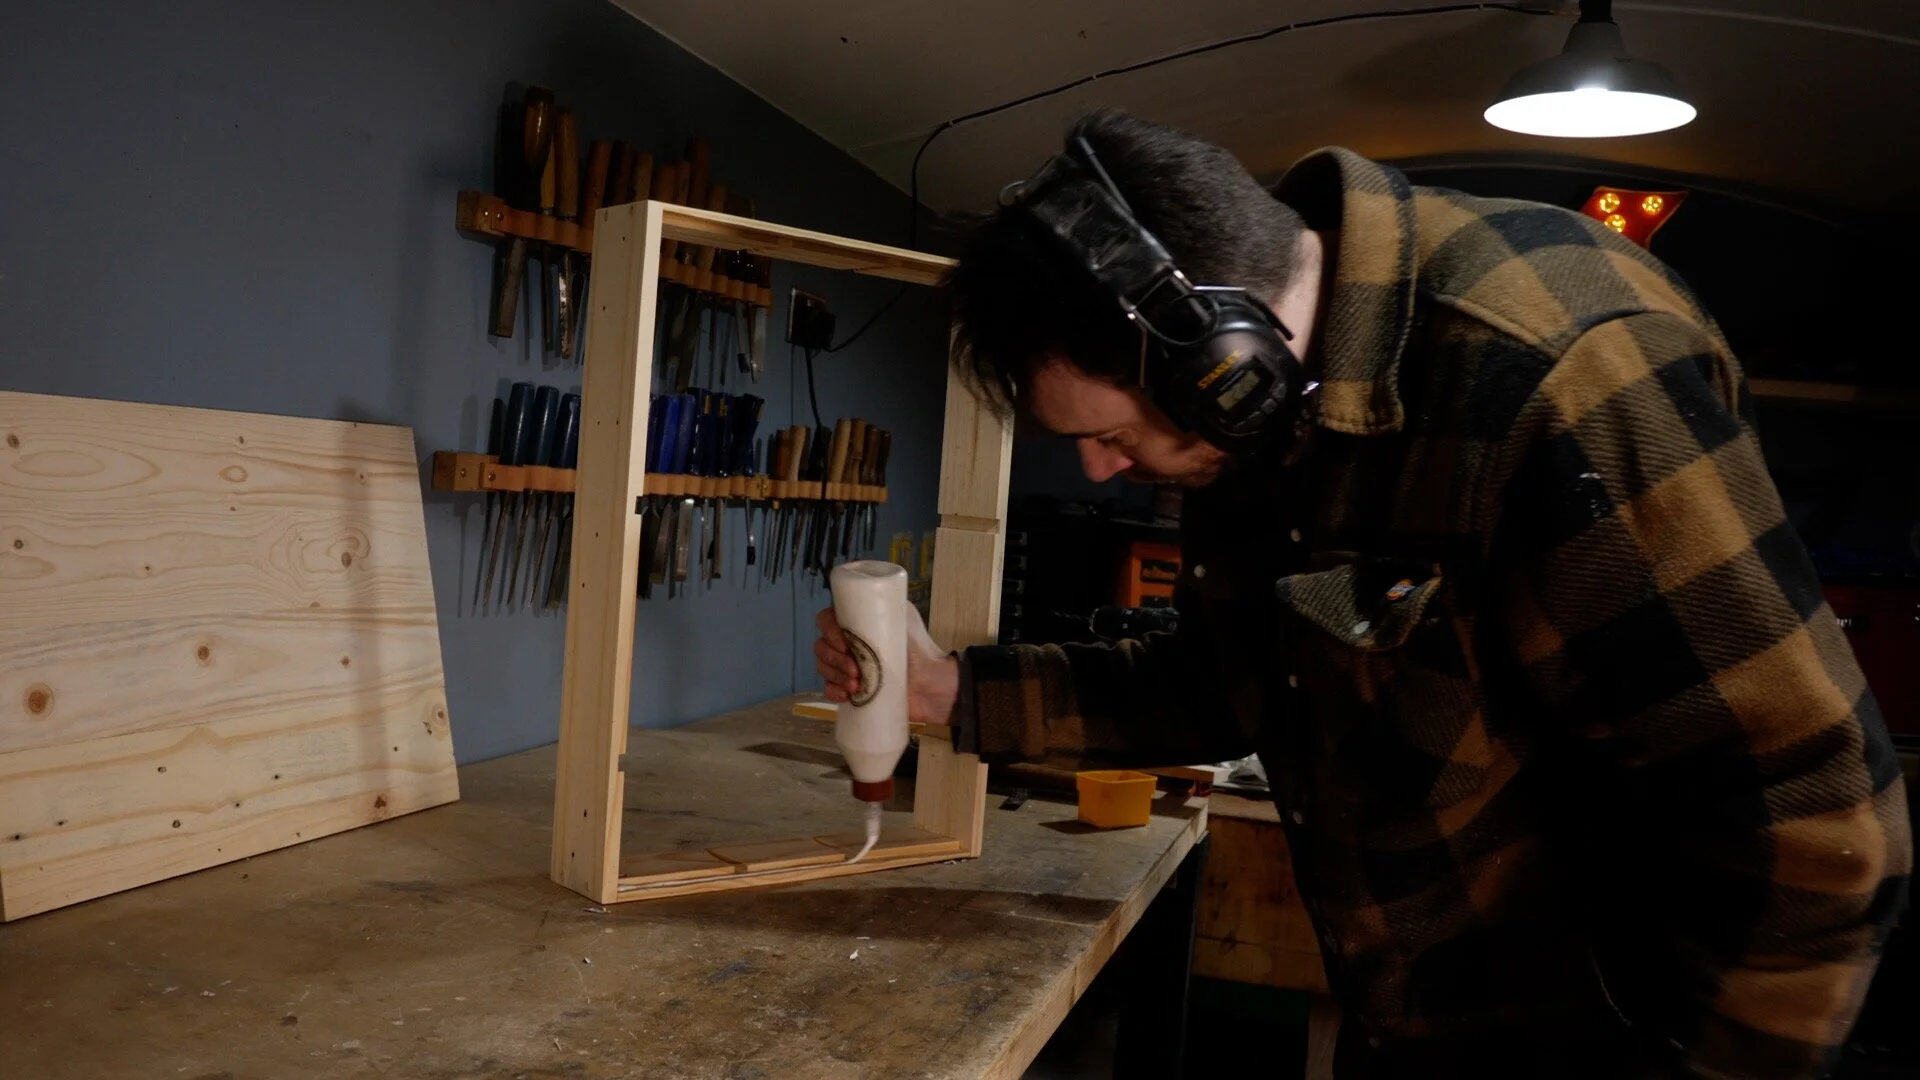
With all the slots cut I can start getting this put together. The four sides are just getting glued together with butt joints. This is not a very strong method of joinery but I will be coming back later to reinforce them.


Wile I waited for the glue to dry I started work on what will be the base of the shoe shine kit. I glued up several boards and and clamped them up into a panel.


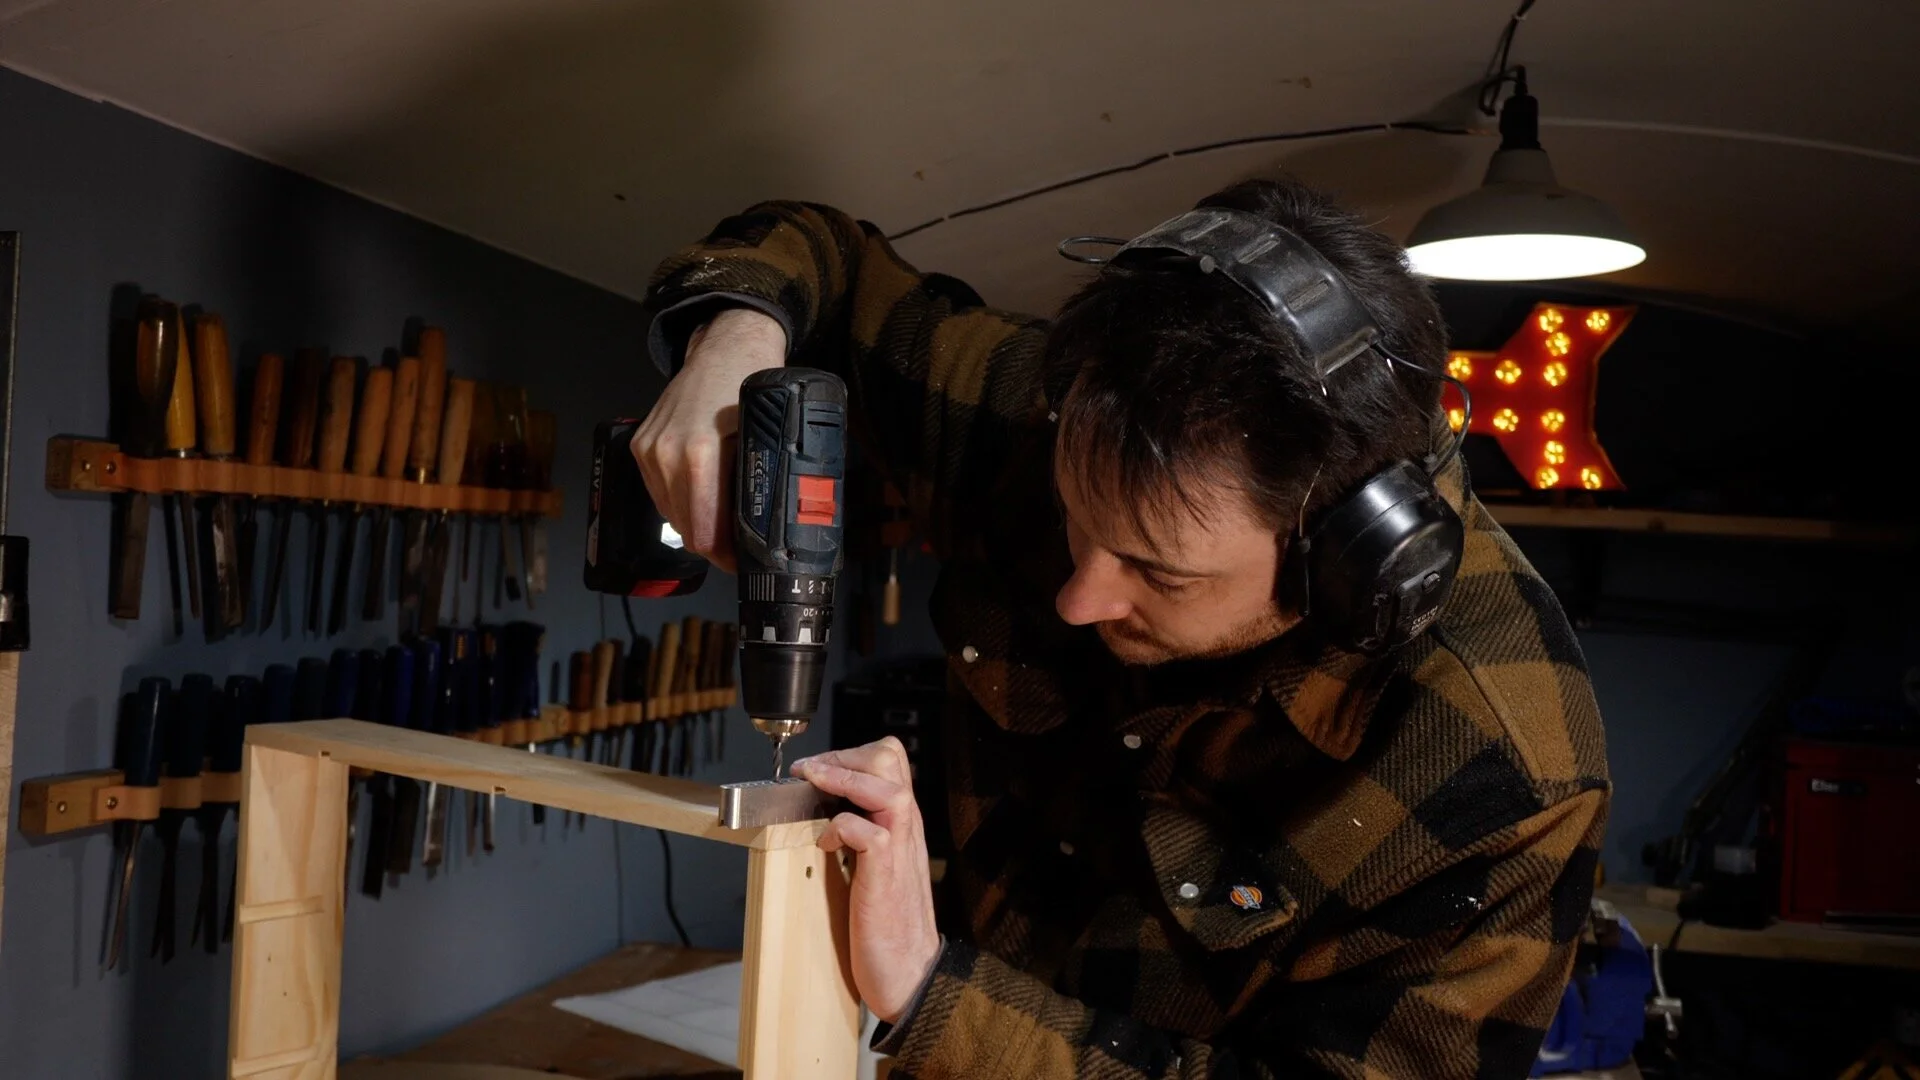
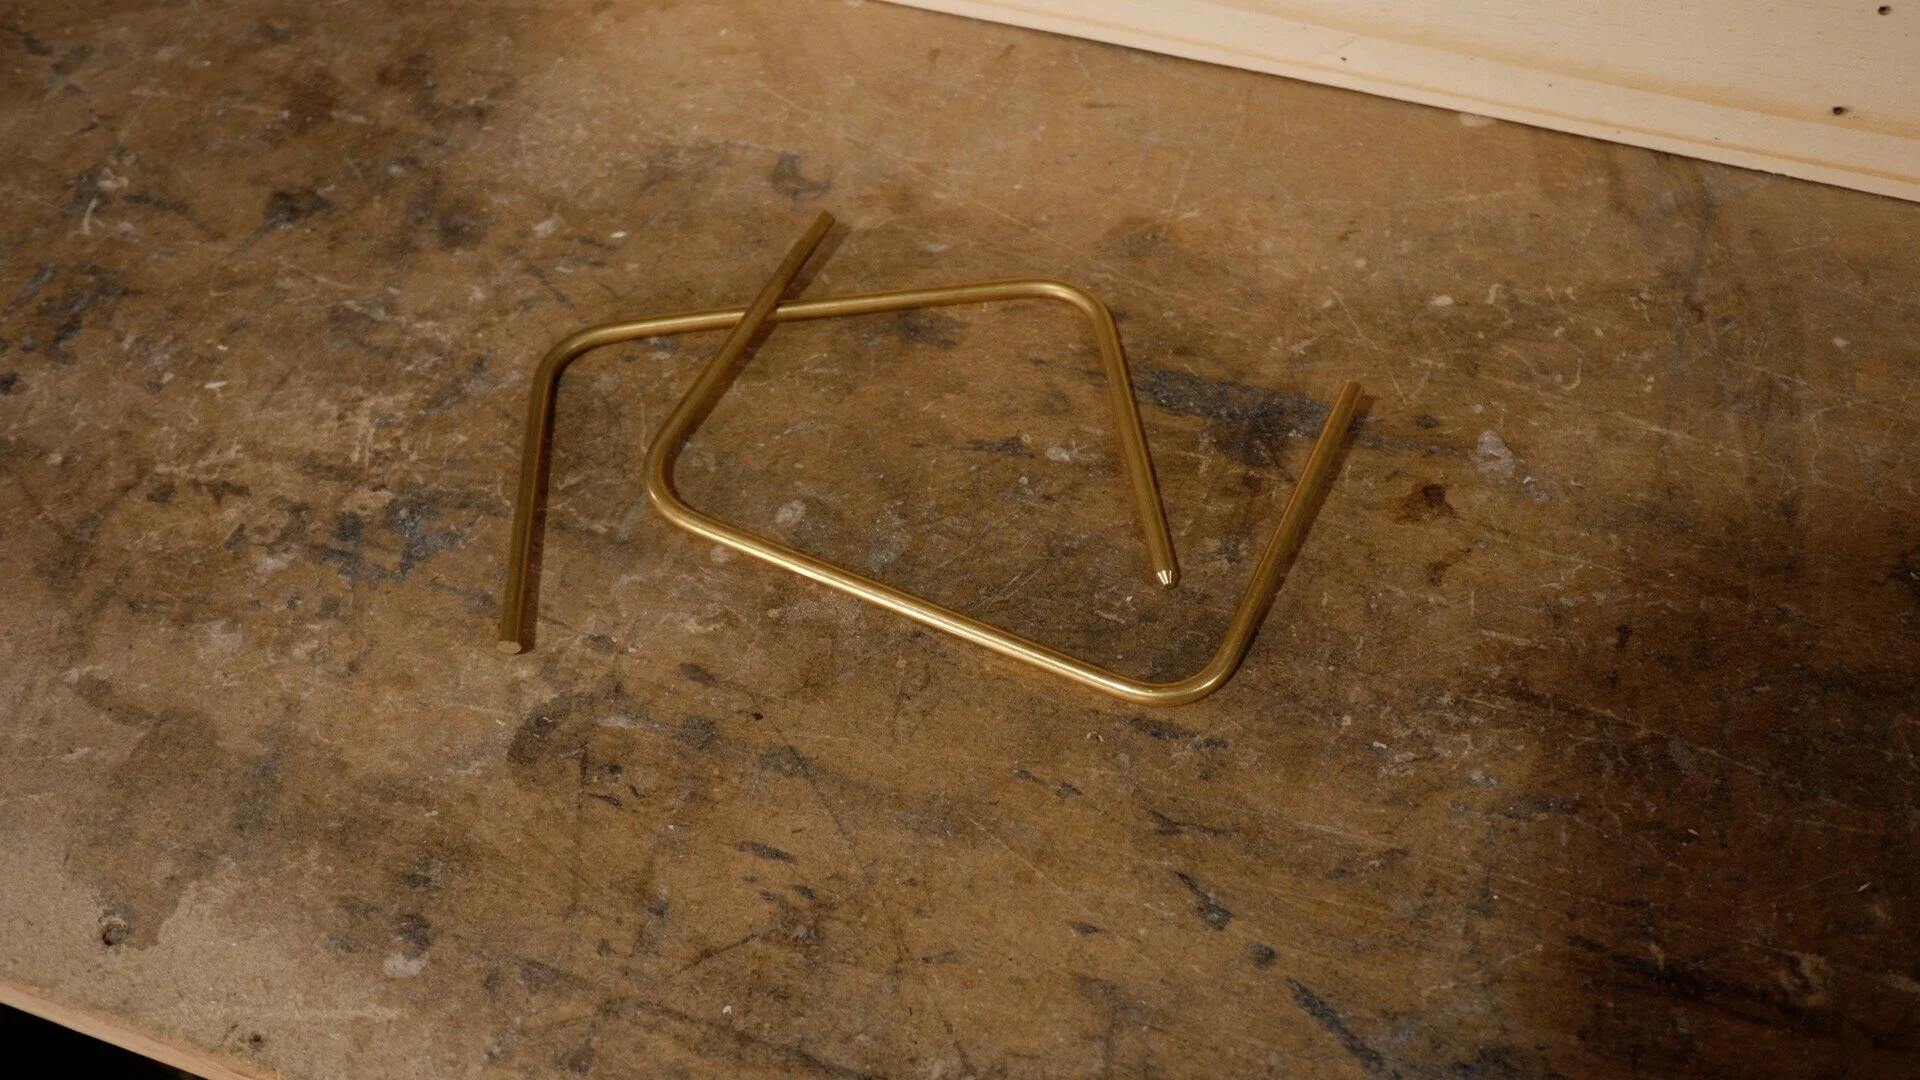
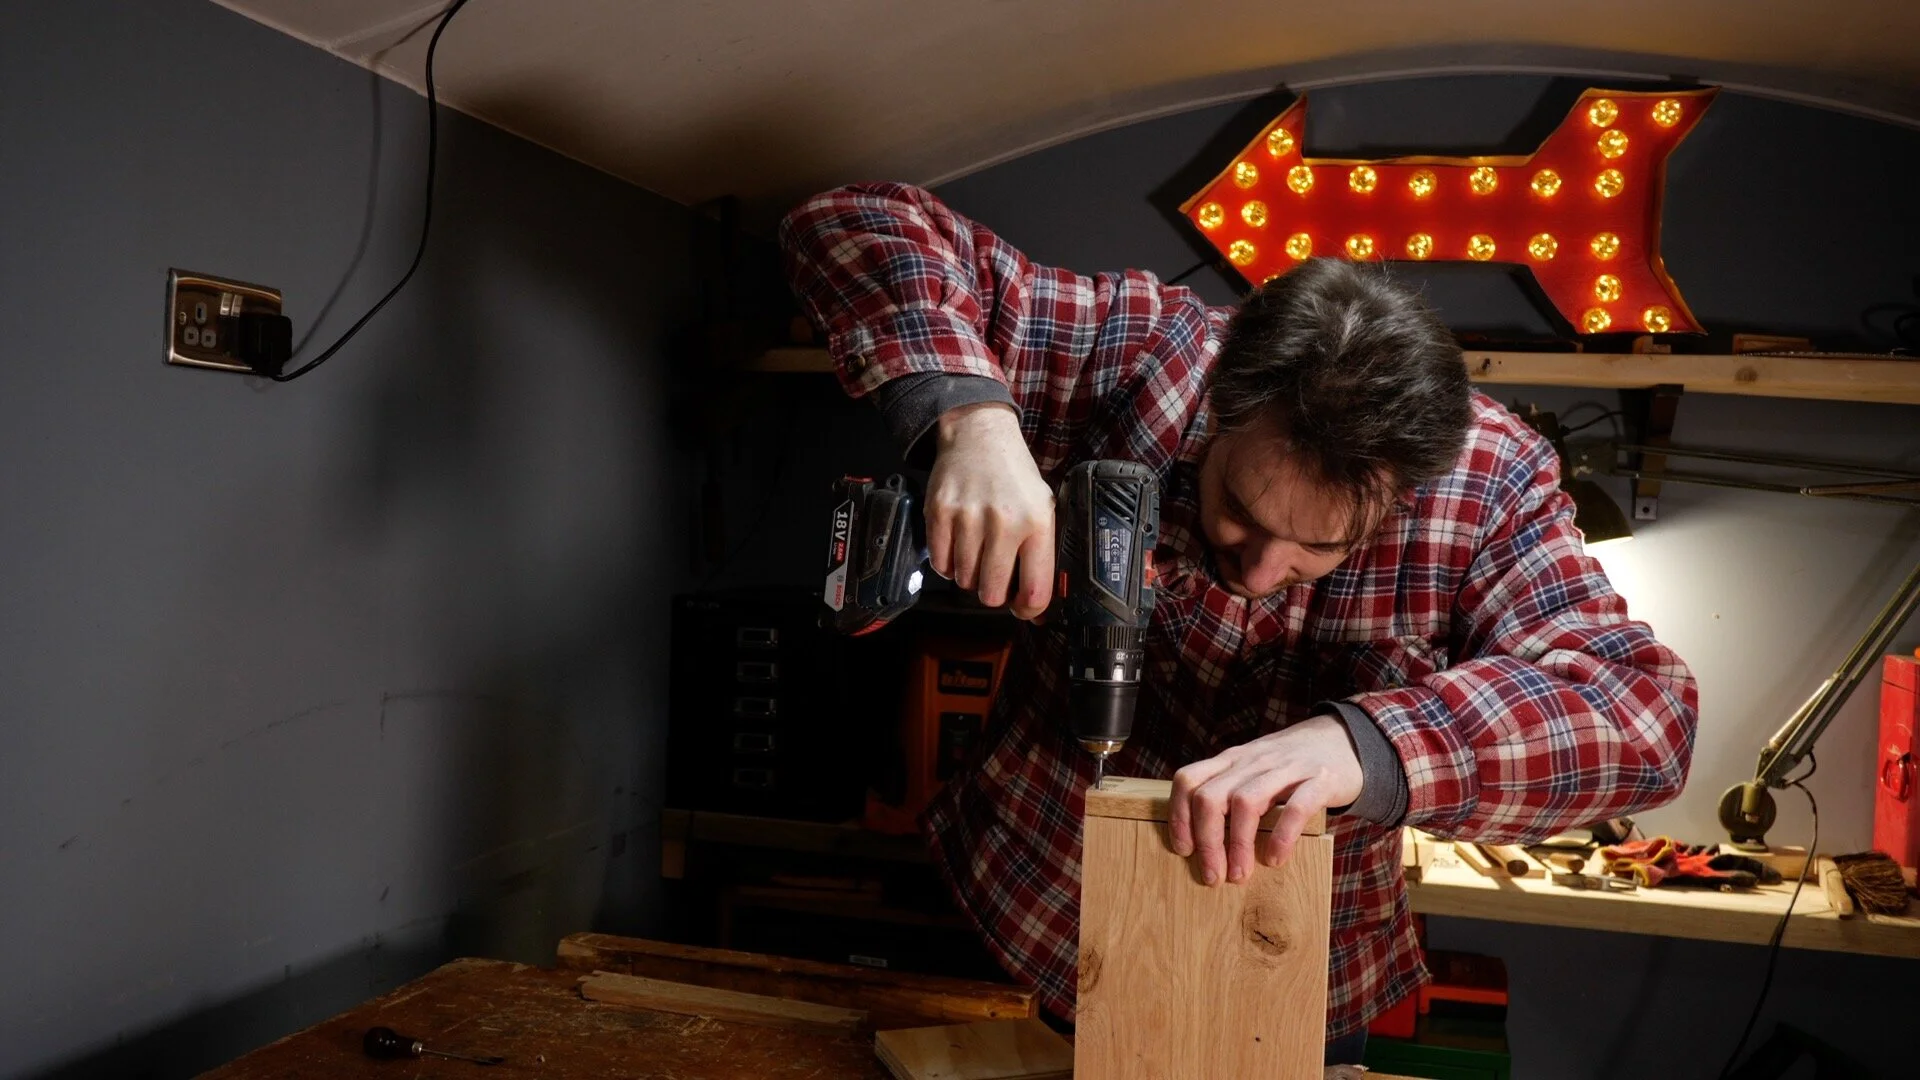
So I mentioned earlier about reinforcing the joints and I have been saving up little snaps of brass rod just for this purpose. I used a hacksaw to cut all the bits of rod down to the same length and then I used a drill guide to determine the size I would need to drill the hole to accept them. I drilled two holes in each of the corners using the drill guide to make sure I was drilling strait.
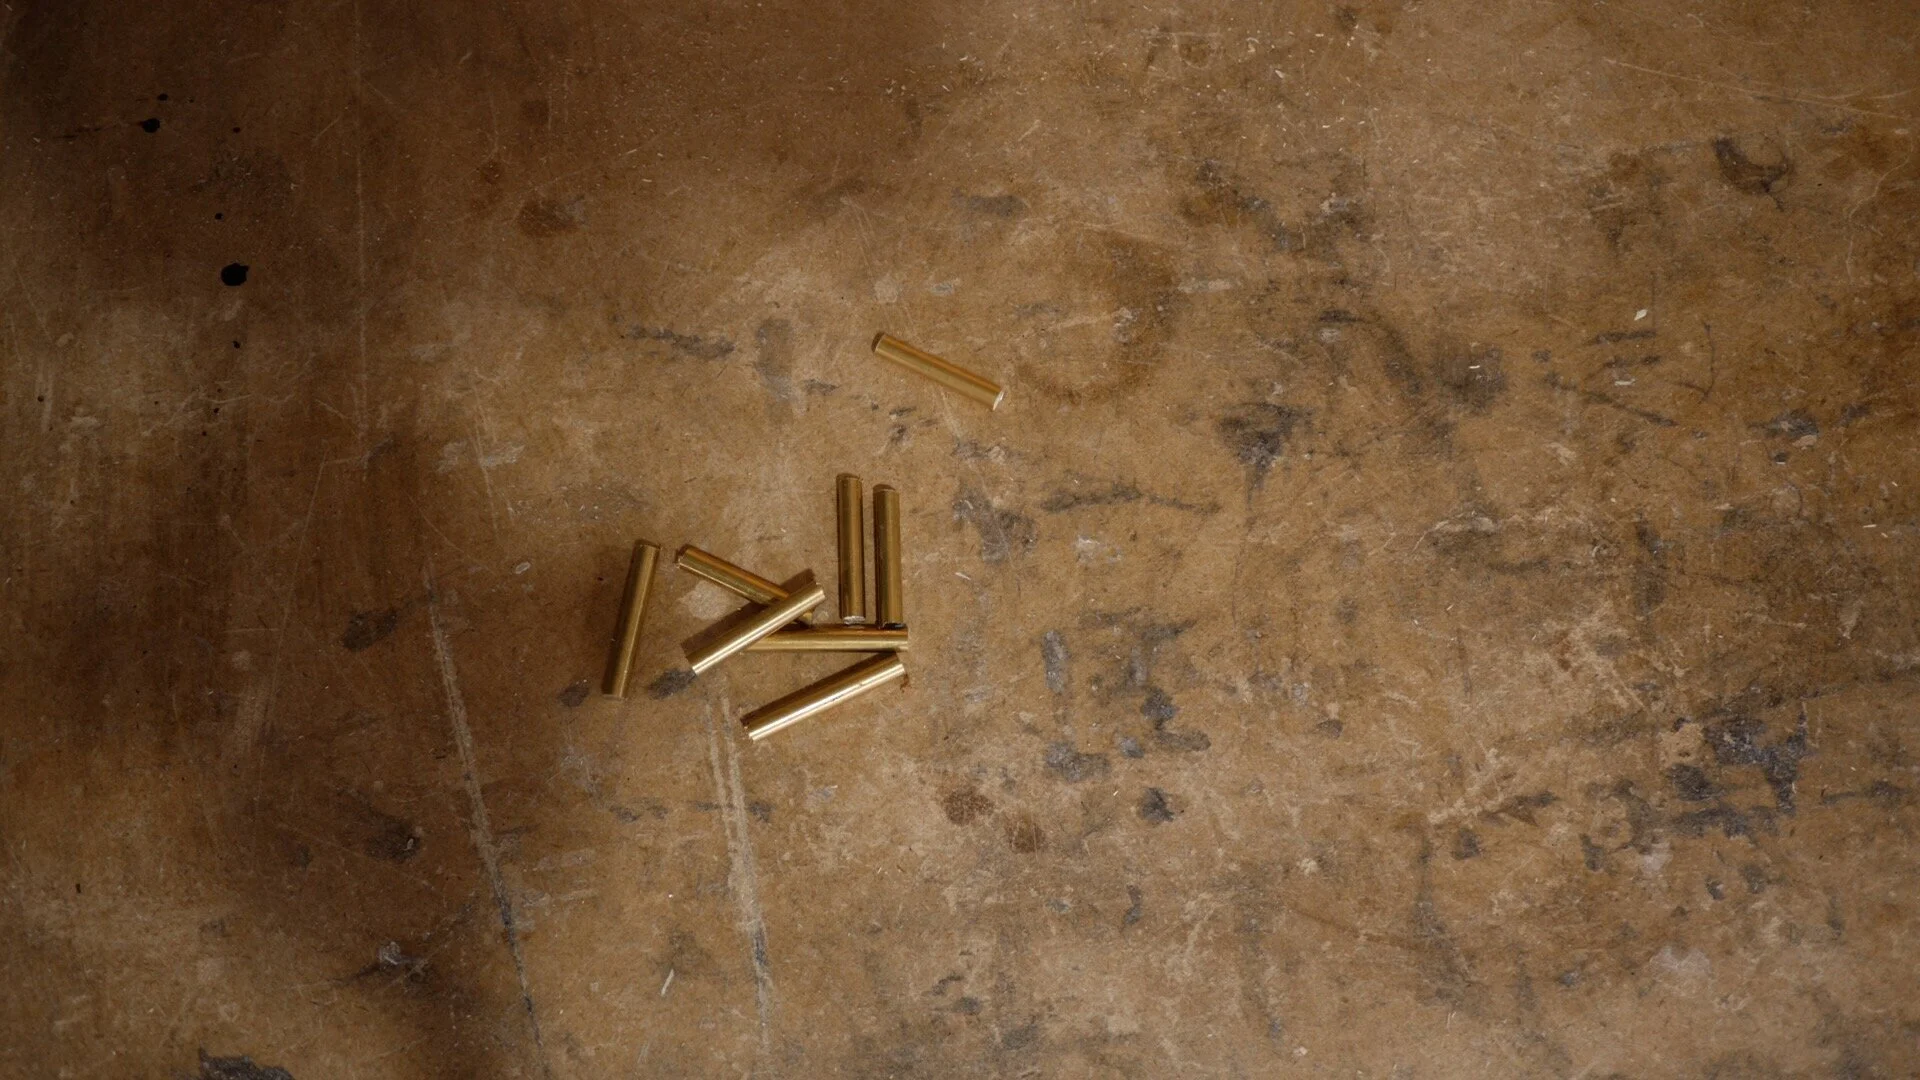

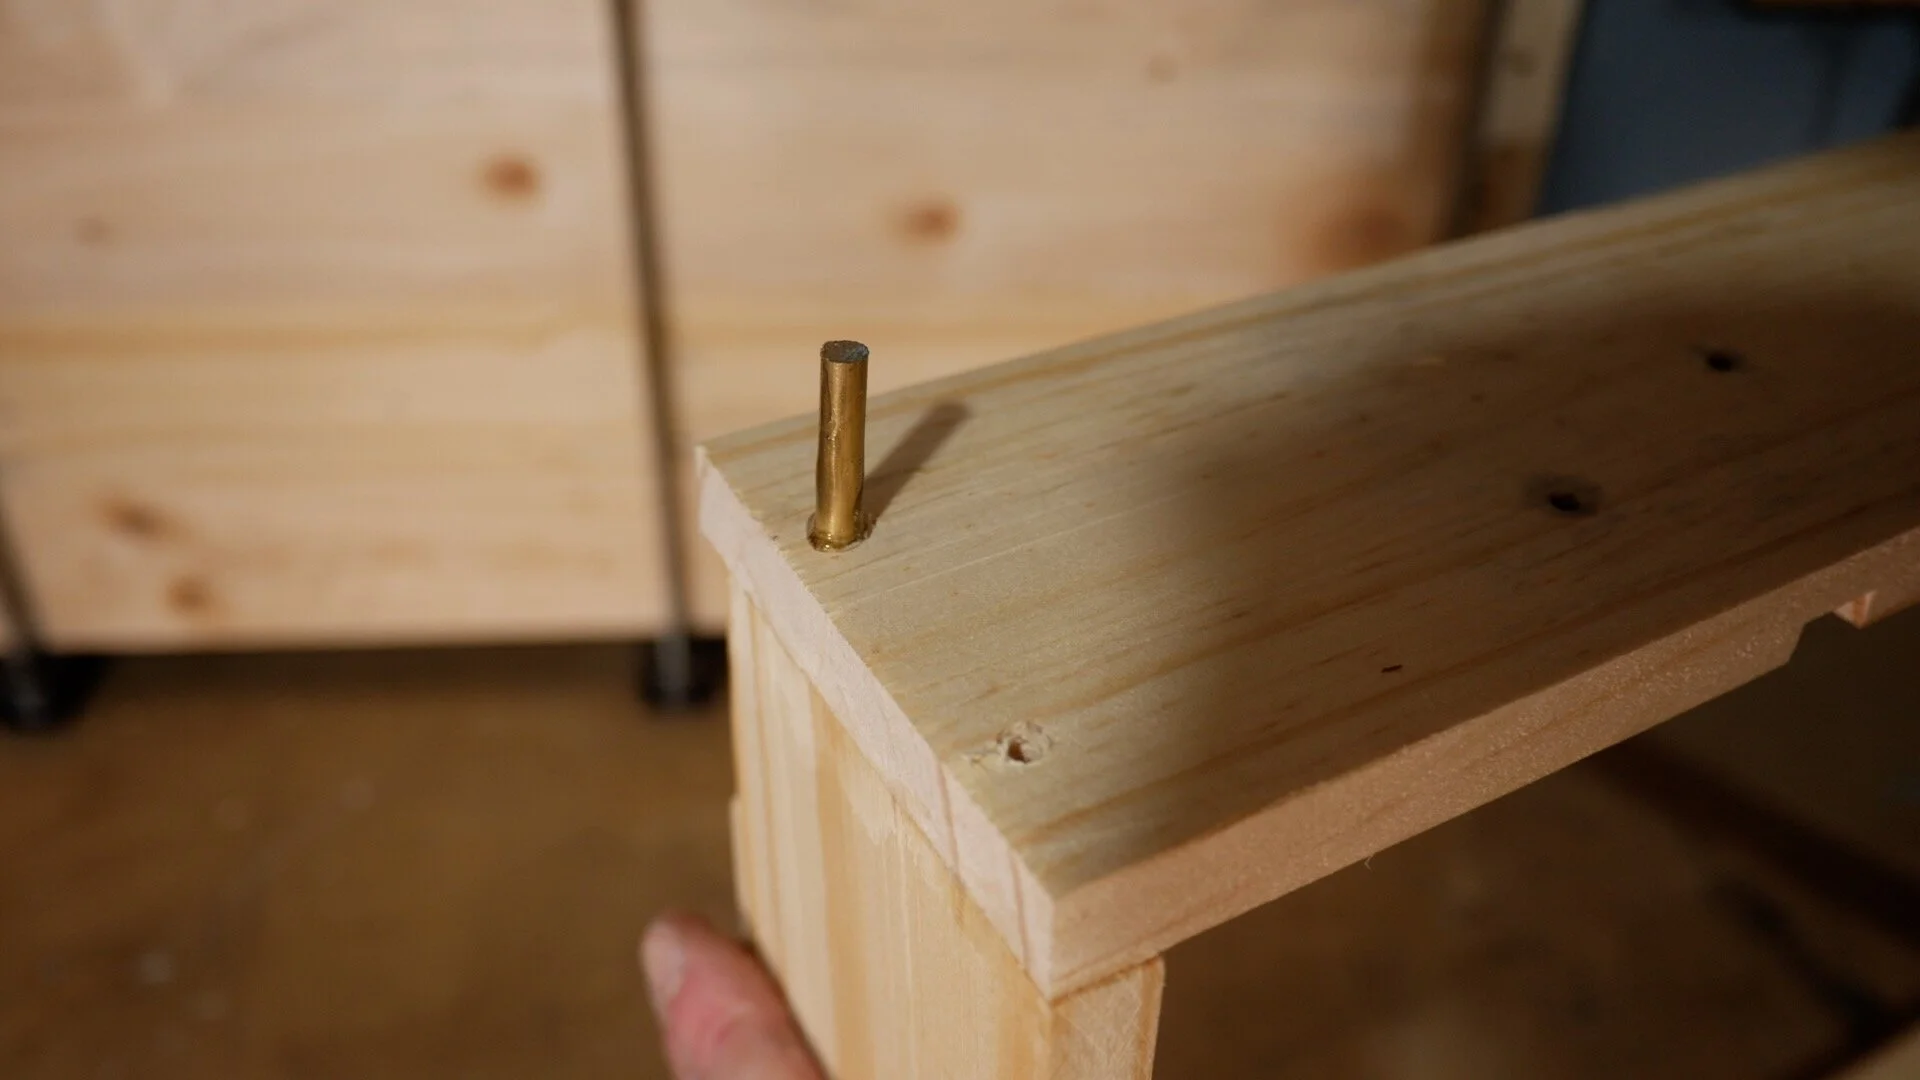
I mixed up a small batch of epoxy and spread it onto the brass rod. I could now tap them down into the holes I had drilled. When the epoxy had dried I could sand the pins flush with the sides.


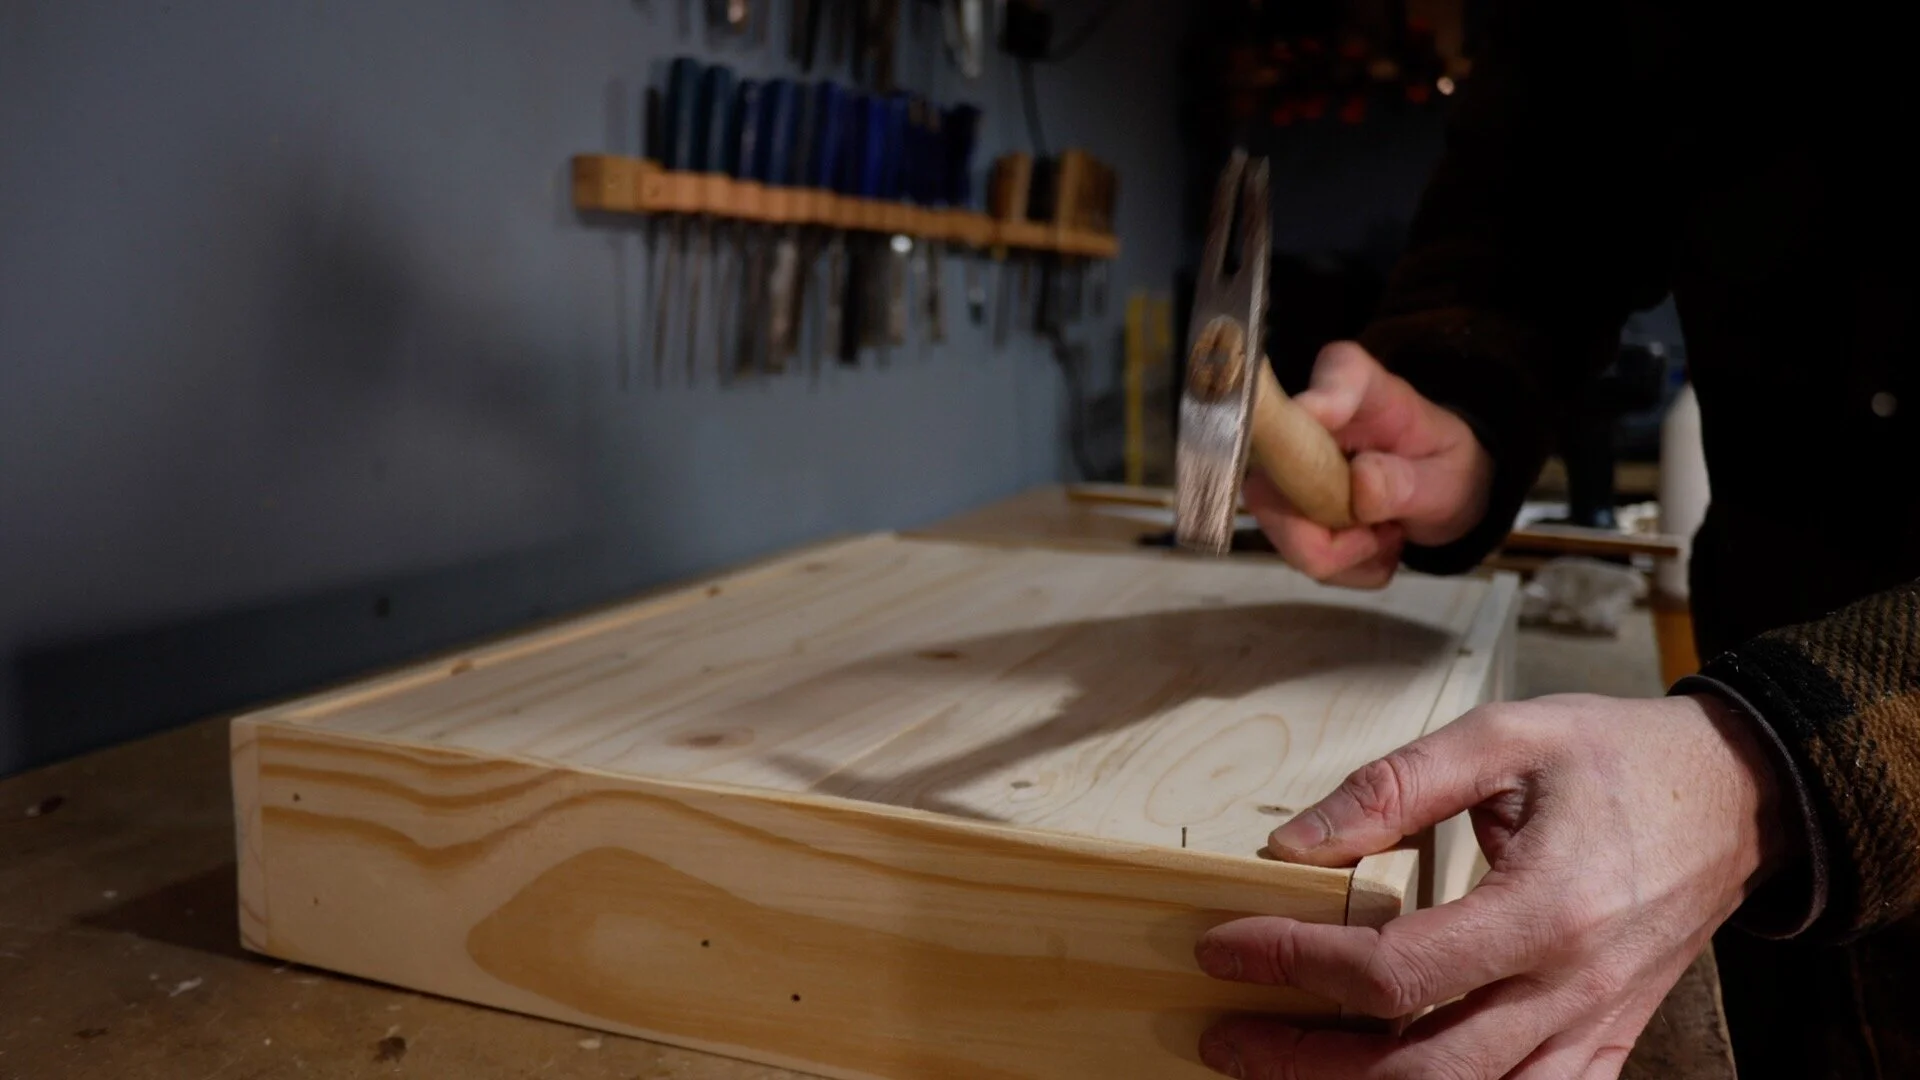
By now the glue had dried on the panel for the base. I got it cut down to side and then put some glue into the rebate I had cut. The base could now go into place and held there with a few panel pins.

The internal dividers can now be installed. I did not use any glue for these, they just slid into the slots I had cut.

I wanted the shoe shine kit to have some handles for carry it by and I thought I would keep with the brass theme. I bent some longer pieces of brass bar to form a couple on handles.


I got these attached in the same way, drilling holes, applying epoxy and tapping into place.


To finish the tray I used the same hard wax oil that I used on the bin cupboard I made a few projects back.


Thats it all done. I no longer have any excuse for dirty shoes. Thank you for reading and if you would like to be informed when I have a new project out then please subscribe at the top of the page. For more information there is a video bellow of me building the shoe polish kit.
Thank you.

Making A Wooden Bin Cupboard

I have been needing a bin in the workshop for a wile. I picked up a cheap plastic one but wanted to make a wooden inclosure for it.

I made this project much harder than it needed to be as I wanted to use up lots of strips of wood I had on hand. It would have been a lot quicker and easier to make if I had just used some sheet goods, but I am quite mean and like to use bits up, especially on shop projects.


I fetched a few bundles of wood into the workshop. Now I could start the long process of glueing them up into usable panels. I first ran them through the thicknesses to clean up the faces. With a couple of faces clean I applied some PVA good glue and and got the strips clamped up into 10” wide boards. I made them this width as that is the maximum capacity of my Planer / Thicknesser.


When I had several panels glued up I could plane and thickness them so I was self with some nice flat boards to work with.


The first bit I made was the door / bin holder. I used the bin as reference to work out what size it needed to be and then I could cut it down on the mitre saw.


I cut another piece for the bin to sit on and some side bits the same length. I could not start getting them attached together. To join them I used some wood glue and brad nails.


With the door made I could then use it as reference to determine the size of the cabinet to house it. I could then get the back and side pieces cut down to size.

The sides got attached to the back in the same way but this was a very weak structure and needed some added supports.


I measured the inside of the cabinet and cut down some supports to fit in it. With the pieces cut to size I could attach some at the top and bottom of the cabinet. These made it much more rigid and will later on give me something to attach the top to.


Speaking of the top. When I was glueing up boards, I made one with the orientation on the slats going the other way to creating a chunkier panel for the top. I determined how bit I wanted the top to be, cut the board down to size and glued up a panel for it.


I could now have a test fit. I fitted the door into the cabinet and secured it in place using some surface mount hinges.


As it was, the door could open all the way. I only wanted it to be able to open wide enough to be able to lift the bin in and out. I cut down a scrap of wood to use as a stop and got it glued into place.


The glue had now dried in the piece for the top. I gave it a quick sand down then drilled some holes in the support at the top of the cabinet. I flipped the cabinet upside down and onto the top, I could then drive some screws down from the inside into it.


I had some dark oak finish that I wanted to use up so I gave it a coat of that.


I had taken the door back off to apply the finish so when it had dried I could get it re attached.


I needed a way to be able to open the door, so I cut down a strip of black leather. I punched a hole in either end, folded it over and screwed it to the door used a brass screw.


Thats it all done. Now I have no more excuses for rubbish in the workshop. If you enjoyed this then please go and watch the video bellow for more information. Thank you

Making A Box For My EDC

I am making this box for a challenge set down my another woodworker Sean Evelegh. I will put a link at the Botton so you can go and see what Sean made. I decided to make a box to store my EDC ( every day carry ) this is just a posh term for the junk that is in my pockets.


I stated my laying out my items and drawing a plan so I knew how big I needed the box to be. I raided my scrap bin a dug out some bits of oak that I had squirrelled away for small projects. All the bits were different thickness to I cut them down on the table saw and ran them through the thicknesser.


I could now cut the four sides of the box to size using the table saw and mitre saw. In my design the front and back are going to be lover thank the side pieces and you will see why later on.
To join the box together I setup my router jig to cut box joints and routed them out. I have this jig so that’s what I used but there are many other ways the box could go together from the simple but joint to handout dovetails.

I wanted the box the have a rebate to accept a panel for the bottom. I swapped out the blade in the table saw to a flat toothed grooving blade and set the hight of it a the panel I was going to use as the base. I could then cut a rebate into the front and back pieces of the box.


As I had the saw set up to cut grooves I marked out where the slots needed to go for the internal dividers, using the plans I drew for reference. I could then use the mitre gauge on my table saw to run the pieces through the blade and cut the slots for the dividers. The blade I am using is 5mm wide so I only needed to make one pass per slot.


With all the slots cut I could give all the prices a quick sand and then it was time to glue them together. I spread some PVA wood glue out into the joint then the fingers could be slid together and clamped in place.


When the glue had dried I could remove the clamps and measure what size the piece for the bottom needed to be. I cut a piece down to size and installed it using some pin nails.


When I had cut the box joints, I had left the fingers a little long. So I used the bandsaw to trim them down and then sanded them flush with the box.


To make the internal dividers I used some wood that was already 5mm thick so it would fit into the grooves. I cut some pieces down to size and used a mallet to tap them into place. I did not glue them in as they had a nice tight friction fit.


I could now start work on the lid for the box. I found some oak big enough and got it machined down to the correct size.


So I said earlier that the sides of the box are higher than the front and back. You can see that here and I marked out the centre on the corner of the higher sides. I could now drill a 5mm hole through the sides and I used a piece of plywood that I had drilled a hole in on the drill press as a guide. I could not fit the lid into place and drill through those holes and done into the lid. Later on I will be installing some brass pins to act as hinges.


n its currant shape the lid would not be able to open and needs the back edge rounded over so it can turn on the hinge. I used a hand plane to round over the back edge and planed a profile on the front edge so I would be able to hook my fingers under it to open the box.

I cut down some 5mm brass round bar and test fitted the lid. I was happy with how it was working so I removed the pins again so that I could add some texture to the lid.


I used a mallet and a small gouge to carve out a random pattern into the lid just to make it a little more interesting.


As I had added the texture to the lid, I really wanted it to stand out from the rest of the box. I decided to stain the box black using India ink and keep the lid natural apart from a coat of Danish oil.


Then the finish had dried I could re-install the brass pins and fill the box up.


I hope you enjoyed this project and for more information please check out the video below.
P.s don’t forget to go see the box Sean made. Thank you